
Revive Your Dead Lithium Battery Pack with These Repair Tips

Are you tired of throwing away dead lithium batteries and constantly buying new ones? It can be frustrating to have a device that you rely on fail because of a dead battery. Luckily, with some basic knowledge and tools, you can learn how to revive your dead lithium battery pack and save yourself money in the process.
In this blog post, we'll go over everything you need to know about repairing your lithium battery pack, from the basics of how lithium batteries work to troubleshooting possible issues. We'll also provide answers to frequently asked questions about lithium batteries, so you can be fully informed on how to properly care for them.
Before we get started, it's important to note that working with lithium batteries can be dangerous if proper safety considerations are not taken. We'll cover these considerations in detail before moving on to the actual repair process. So, if you're ready to learn how to bring your dead lithium battery pack back to life, let's get started!
Overview Of Lithium Batteries
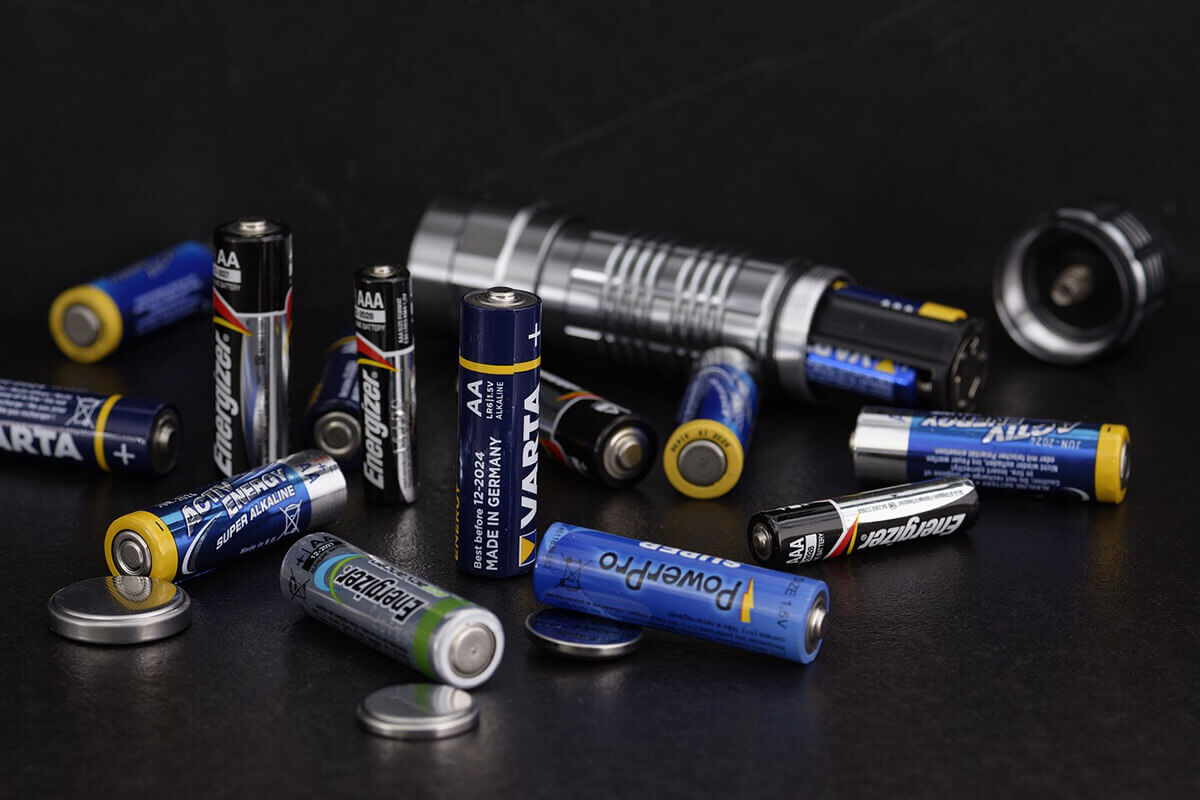
Lithium batteries are a vital piece of modern technology, powering the devices that keep us connected. Like the beating heart of a machine, they drive all manner of gadgets and machines with their rechargeable lithium-ion chemistry.
These tiny powerhouses have revolutionized how we use energy in our lives, from cell phones to electric cars. As technicians tasked with keeping these powerful tools running smoothly, it is important to understand the basics of lithium battery packs and how to repair them when necessary.
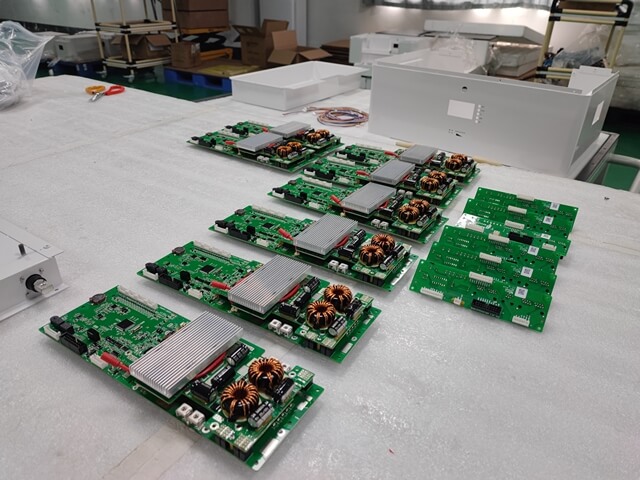
The primary components of a lithium battery pack include its cells, terminals, connectors, and protective circuitry. Lithium-chemistry cells consist of three basic parts: an anode (negative electrode), cathode (positive electrode), and electrolyte solution which conduct electricity between the two electrical poles.
The voltage generated by these electrochemical reactions powers whatever device or appliance the battery pack is attached to.
When recharging, lithium batteries must be monitored closely for overcharging or undercharging as this can significantly reduce overall battery life.
With proper maintenance and care though, a lithium-ion powered device should last many years before needing repairs or replacement due to age or wear and tear.
Knowing how to identify issues within a battery pack helps ensure longevity for any number of different applications utilizing these advanced units.
Safety Considerations
When repairing a lithium battery pack, safety considerations are paramount. As such, it is of utmost importance to adhere to the appropriate safety precautions and risk mitigation strategies in order to prevent any potential hazards when working with this type of power source.
The first step towards ensuring safe repair practices is to become familiar with the specific details that accompany your particular lithium battery pack model.
It is important to be aware of all associated risks and heed any warning labels or instructions provided by manufacturers.
Furthermore, it is essential for technicians to follow proper guidelines for handling batteries safely; these include wearing protective gear such as gloves and goggles, avoiding short-circuiting the terminals, and never allowing foreign objects inside the cells.
In addition, special care should be taken when using tools near a lithium battery, as sparks created from metalworking equipment can cause an explosion if they come into contact with flammable materials present in the cell.
Finally, after completing repairs on a lithium battery pack, disposing of spent cells properly is imperative; hazardous material laws must be followed at all times in order to ensure environmental protection and avoid legal repercussions.
This includes collecting old cells in approved containers for recycling or disposal according to local regulations. By taking necessary precautionary measures during every stage of the repair process—from initial assessment through final disposal—technicians can help prevent potential injuries caused by mishandling lithium batteries and their components.
Tools And Supplies Needed
When it comes to repairing a lithium battery pack, the right tools and supplies are essential. Assembling a comprehensive toolkit for this task will ensure that all bases have been covered. From soldering irons and heat shrink tubing to multimeters and wire strippers, these items will make the repair process easier:
- Soldering Iron: A high-quality soldering iron is necessary when making electrical connections on the battery pack. It must be capable of reaching temperatures of at least 400°F (204°C).
- Heat Shrink Tubing: Heat shrink tubing should also be in the toolbox; its purpose is to insulate any wiring or terminals used during repairs. Make sure to select sizes that properly fit the components being connected.
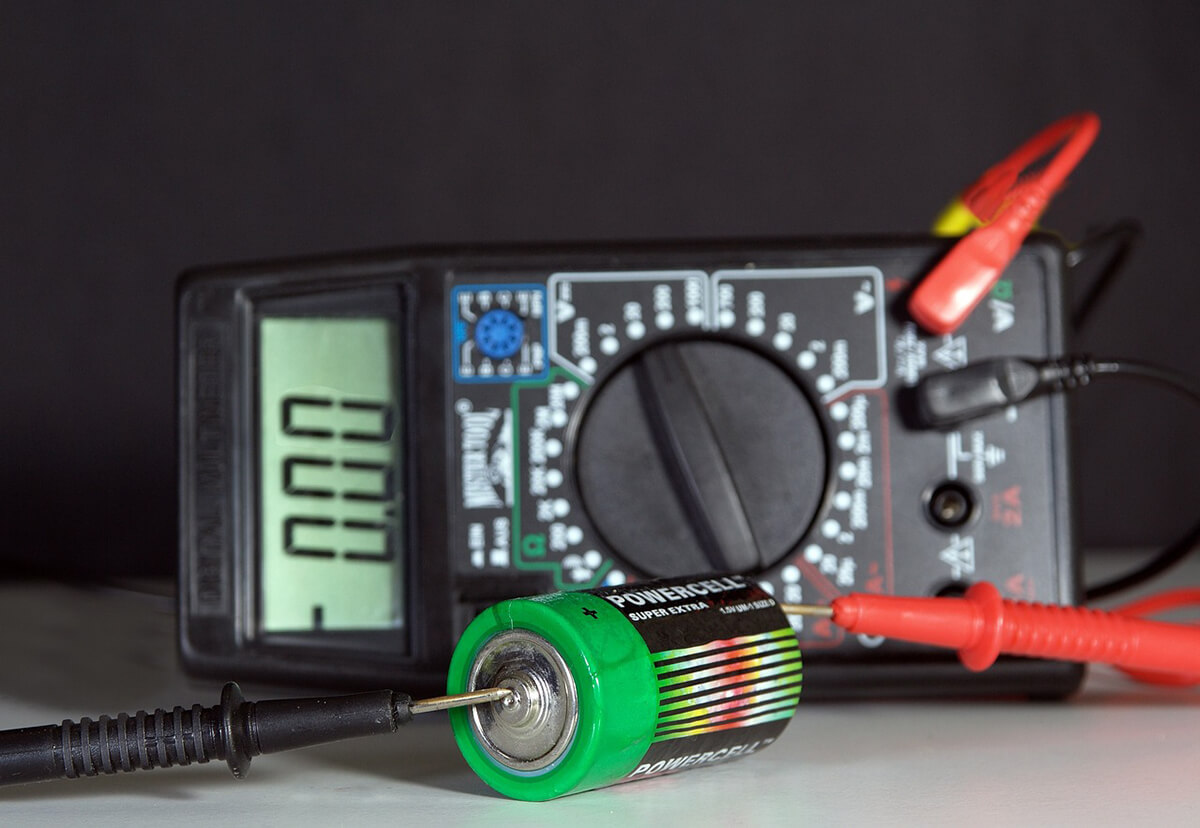
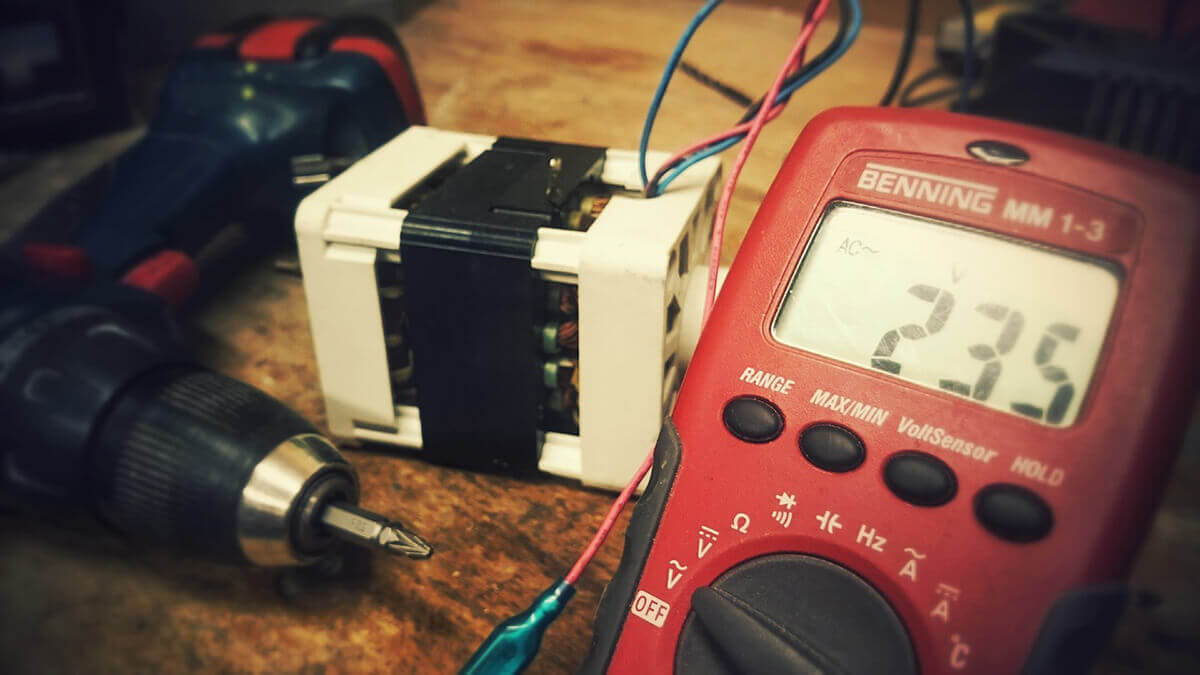
- Multimeter: Safety considerations require an accurate voltage reading before beginning work on any cell packs. Thus, a digital multimeter is needed to measure voltages accurately.
- Wire Stripper: To strip insulation from wires prior to connecting them together, use a quality wire stripping tool with adjustable blades. This further ensures safety while working on delicate circuitry.
- Safety Goggles: Above all else, safety goggles must always be worn when handling hazardous materials such as exposed batteries or hot solder tips. Doing so will prevent burns or irritation due to smoke inhalation if something goes wrong during the repair process.
With these items in hand, users can feel prepared and confident when taking apart their lithium battery pack and replacing faulty parts or cells - no matter how daunting of a task it may seem upfront!
Battery Pack Disassembly
The process of disassembling a lithium battery pack is essential to the repair and maintenance of the device. The following table outlines the steps for safely removing, dismantling and disposing of a lithium battery pack.
| Steps | Tools Required | Instructions |
|---|---|---|
| Remove the Battery Pack from the Device | Safety glasses, Phillips head screwdriver | Turn off the power supply, use a screwdriver to remove the screws holding the battery in place and lift out with caution |
| Dismantle Battery Pack | Philips head screwdriver, flathead screwdriver, safety gloves | Use screwdrivers to open up the casing of the battery pack; carefully remove individual cells/modules within the casing and set aside |
| Dispose of Battery Pack Properly | Plastic bag or container, razor knife (optional) | Place all components into a plastic bag or container; if necessary, use a razor knife to cut wires connecting compartments together |
In order to ensure safe handling practices are followed when disassembling a lithium battery pack, it is important that appropriate tools are used at each step.
Additionally, care should be taken during removal and disposal as electric shock may occur if not done correctly.
By taking these precautionary measures, users can protect themselves from potential harm while also preserving their device’s condition for future use.
Cell Inspection And Testing
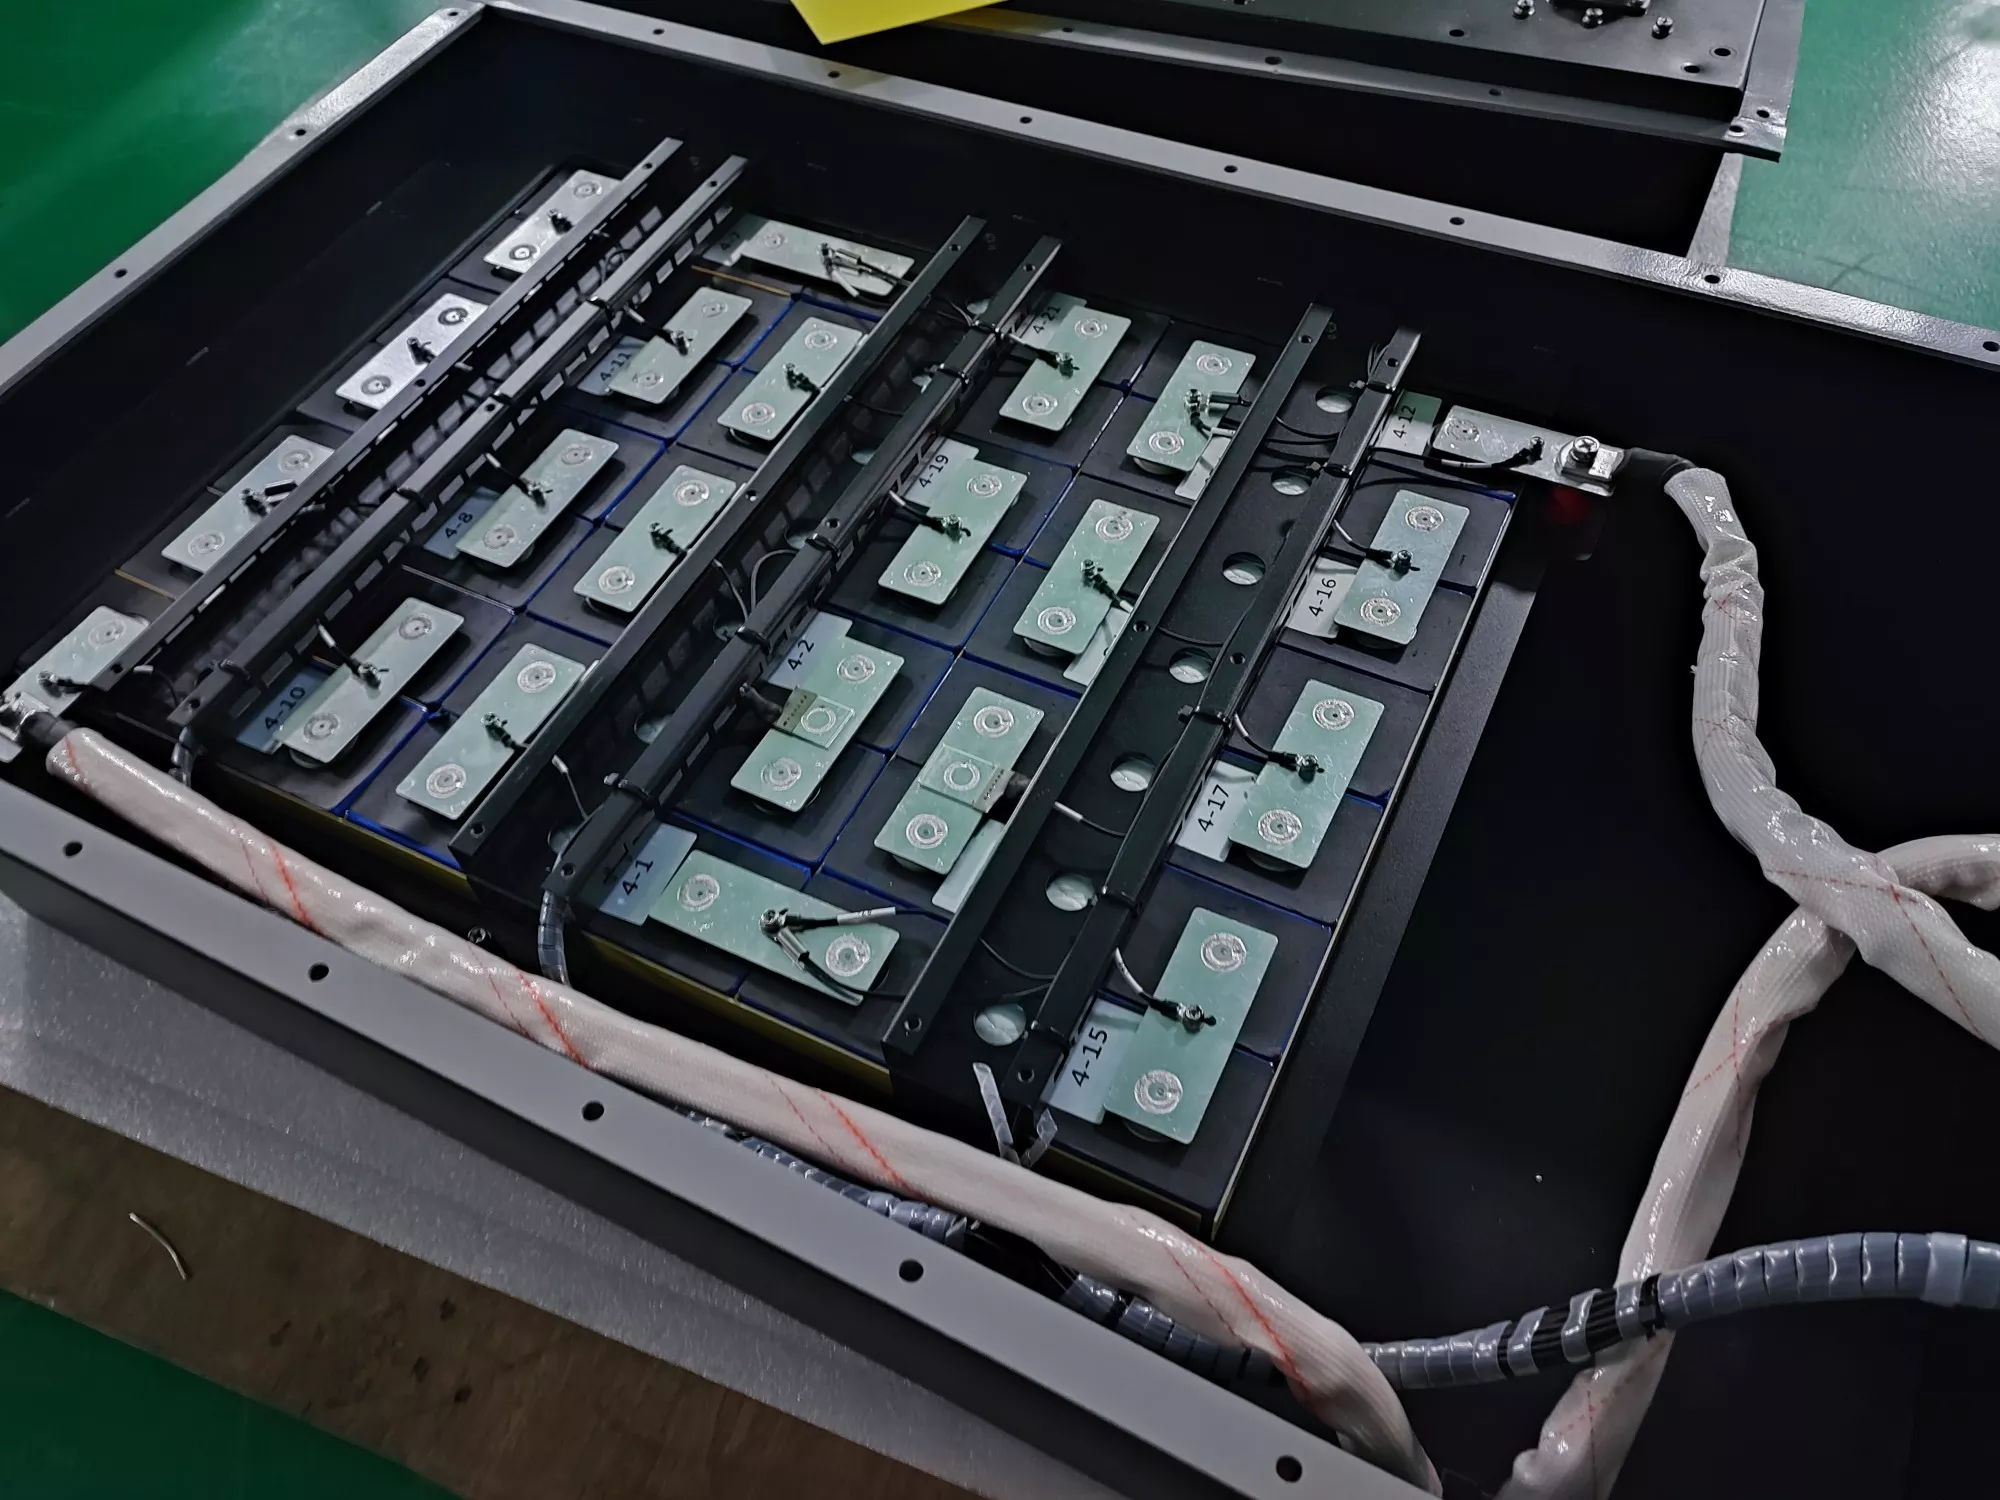
The repair process begins with a thorough cell inspection and testing. As battery cells are the essential components of any lithium battery pack, it is important to ensure they are in good condition before continuing with the repair.
The first step is to conduct a voltage test on each individual cell. This allows technicians to pinpoint any immediate issues such as short or open circuits, or damaged wiring connections.
After this has been done, then comes the visual inspection of all components including fuses, wires, connectors and terminals.
It is also important to check for signs of corrosion which can indicate that moisture may have infiltrated the system. Any faulty parts must be replaced if necessary prior to beginning the repair work.
Further tests should then be conducted to make sure that all systems are functioning correctly and that no further damage has occurred within the unit itself.
Cell Replacement Process
Cell replacement is a process that involves replacing individual cells in the battery pack.
The first step in this process is to identify which cells need to be replaced and whether or not it requires an entire pack replacement. Battery packs are composed of several smaller battery cells, and when certain cells fail due to overcharging or general wear, the entire cell can be swapped out with a new one.
It’s important to use quality replacement batteries that match the capacity and voltage requirements set by the manufacturer of the original lithium battery pack. Once all necessary parts have been acquired, the actual work begins with removing each damaged battery cell from its holder followed by disconnecting all wires associated with it.
Afterward, installing a new cell should follow while making sure that both polarity and orientation are correct before connecting any wiring.
Lastly, testing must take place after the installation of all new cells has been completed as part of completing the cell-swap process so ensure proper operation of newly installed components.
Testing will involve checking overall performance metrics such as voltage levels and discharging/recharging times to make sure everything works correctly in accordance with factory specifications.
Reassembling The Battery Pack
Reassembling a lithium battery pack requires attention to detail and precision. The following steps should be followed in order to reassemble the battery pack correctly:
- Ensure that all components of the lithium battery pack are present, including cells, wires, terminals, and case cover.
- Assemble the cells into their respective terminal connections.
- Securely connect each cell connection using cables or solder depending on your model's requirements.
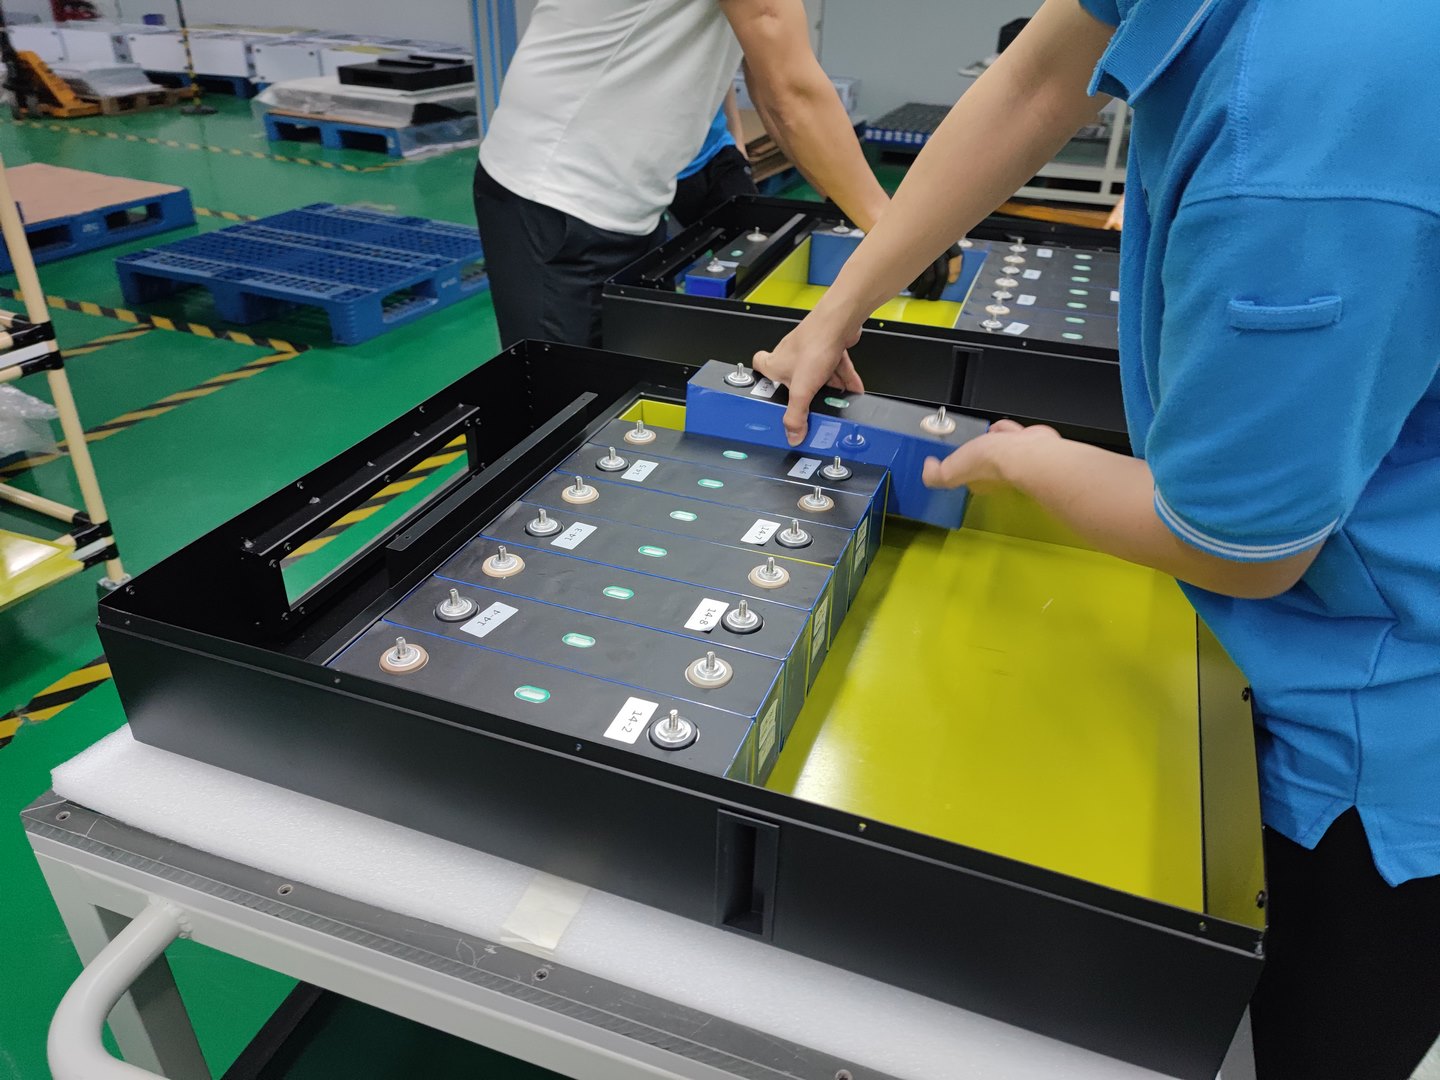
- Install batteries onto the battery-pack assembly tray according to manufacturer instructions and secure it with screws if appropriate.
- Connect/solder all positive and negative terminals together as instructed for your particular application and ensure the proper voltage is achieved.
Once all connections have been completed it is important to test the assembled lithium battery pack before use. This will verify that no short circuits have taken place during the process of assembling the pack.
Additionally, a visual inspection should take place to make sure there are no loose connections or visible damage which may cause malfunctions or other issues when put into operation.
If any problems arise from testing then disconnect all components and inspect for any potential causes such as damaged parts or incorrect wiring or soldering points.
After successfully completing these steps you can now safely use your reassembled lithium battery pack.
Replacing Electronic Components
The repair process of a lithium battery pack has been compared to an intricate puzzle, with each piece representing an electronic component. When the time comes for the replacement of these components, it is essential that one take the necessary steps in order to identify and replace them properly.
Replacing electronic components requires knowledge of part identification and installation techniques as well as familiarity with various tools used during the swapping process. This can include voltage testers, screwdrivers, wire cutters, soldering irons, and other items depending on the type of repair needed.
Before beginning any work involving electrical components, familiarize yourself with relevant safety guidelines from your local governing body or manufacturer's instructions.
To start replacing electronic components, first find a reliable component-replacement guide tailored specifically for your particular model of the battery pack.
It may be helpful to review diagrams showing exactly which parts are being replaced before attempting any actual repairs. Read through all instructions carefully and make sure you understand what needs to be done prior to starting the project.
After obtaining the correct parts, begin swapping out the old ones by disconnecting each part’s wires accordingly before unscrewing mounting screws or bolts if required.
Finally, reassemble everything back together according to original specifications; test proper operation after completing the assembly.
Soldering Techniques

In order to repair a lithium battery pack, soldering techniques must be correctly implemented. The most important tools for this task are a soldering iron, desoldering pump, solder paste and flux remover.
These four components combined with heat shrink tubing will allow the technician to effectively mend any loose connections or exposed wires.
The first step in the process is applying the correct amount of solder paste to the appropriate area on the battery cells. Once sufficient paste has been applied, it should then be heated by a soldering iron until it melts and adheres firmly to the cell's surface.
If more than necessary paste is used, it can be removed using a desoldering pump before heating with an iron. After cooling down and solidifying, excess solder can also be wiped away with a cloth dampened in flux remover if needed.
Finally, heat shrink tubing should be added around each connection point to provide insulation and strain relief where applicable. This helps reduce stress on joints and ensures a safe electrical path between all components within the battery pack.
Heat shrink tubing not only adds additional security but also provides improved aesthetics to your workmanship when fully completed.
Balancing The Cells In The Battery Pack
As the old adage goes, "A chain is only as strong as its weakest link." The same principle holds true for lithium battery packs.
Even if each individual cell in the pack has been properly soldered and repaired, a weakly balanced battery with uneven voltages can still lead to an unreliable power source.
To ensure that the entire battery pack works optimally, it's important to balance the cells within it.
BMS is one of the most common battery balancing systems. It can avoid issues such as overcharging which can cause permanent damage or even fire hazards.

For most lithium-ion batteries, balance charging is typically done using specialized equipment like balance chargers or microcontrollers which measure and monitor each cell voltage during the charge cycle.
By adjusting current levels accordingly and cutting off when needed, this method ensures that all cells reach their optimum voltage at once without any single cell being charged more than necessary.
Additionally, balancing also reduces stress on weaker cells by distributing loads among them evenly while protecting against short-circuiting or overloading specific sections of the pack caused by mismatched currents flowing through different areas simultaneously.
At times, manual adjustments may be required in order to bring certain cells back into alignment with others in terms of voltage level and capacity; however, if done correctly this should not pose too much difficulty for experienced repair technicians equipped with proper knowledge and tools.
Overall, making sure a lithium battery pack is well balanced prior to usage is absolutely essential for avoiding major problems down the road both from a safety standpoint and from an efficiency one.
Taking care to make sure every cell is operating at its peak potential will go a long way towards ensuring reliable performance overall no matter what application it is used for.
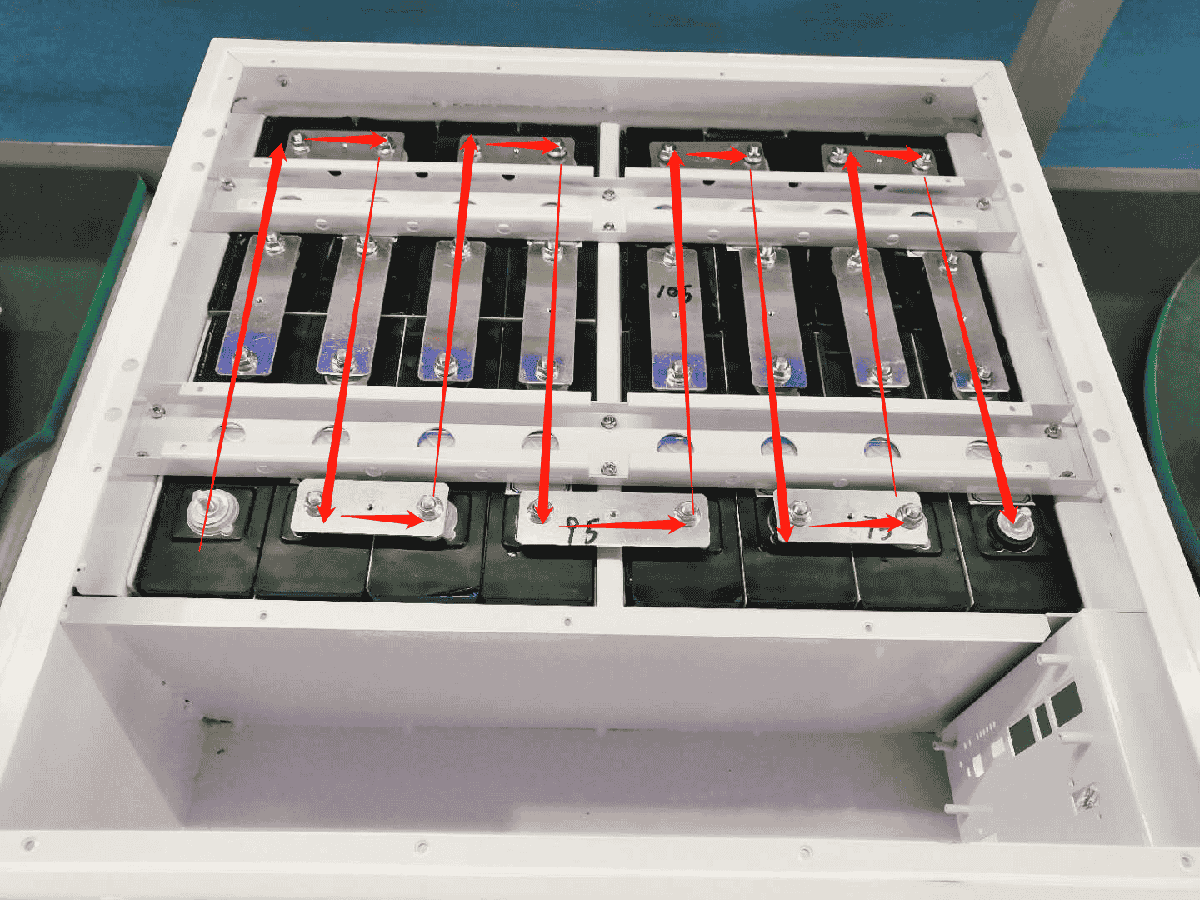
Correctly Connecting Cells
The correct connection of cells is paramount to the successful repair of a lithium battery pack. This involves following an established procedure that ensures each cell is connected in the right sequence and orientation, using appropriate techniques.
There are three fundamental steps involved when connecting cells correctly:
| Step | Description | Equipment Required |
|---|---|---|
| 1 | Identify positive/negative terminals on all cells | Multimeter |
| 2 | Connect the positive terminal of one cell with the negative terminal of another | Soldering iron & solder wire |
| 3 | Securely connect final two terminals together (positive to positive, or negative to negative) | Heat shrink tubing & heat gun |
These steps must be done carefully and precisely; if any mistakes or errors occur during these procedures, it could lead to catastrophic failure of the entire battery system.
To begin, use a multimeter to identify which side of each cell has the positive (+) and negative (-) terminals.
After this step is completed, move on to soldering the first pair of cells by connecting the positive terminal from one cell with the negative terminal from another.
Next, repeat this process for all remaining pairs until there is only one set of unconnected terminals left -- either both positive or both negative depending on how many cells were required for your repair job.
Finally, use heat shrink tubing around the last connection point along with a heat gun to seal off and protect it from any further damage. The proper completion of these tasks will ensure that your repaired lithium battery pack works properly and safely afterward.
Sealing The Battery Pack
Now that the cells have been correctly connected, it is time to seal the lithium battery pack for protection.
Sealing batteries is a necessary process in order to ensure their longevity and prevent any accidental damage or shorting of individual cells. This sealing process involves several steps which must be carried out with great care:
- Cleaning - All surfaces should be thoroughly cleaned before the application of sealant.
- Application of Sealant - The chosen sealant should be applied according to manufacturer instructions. It may need thinning or mixing prior to application.
- Curing - Once the sealant has been applied, it needs to cure through exposure to air or heat depending on the type used.
- Testing - After curing is complete, electrical testing can be done in order to make sure all connections are secure and no contamination was present during the sealing process.
The choice of material used for sealing will depend on various factors such as expected lifetime use, environmental conditions and safety requirements.
Most often an epoxy-based resin is used due to its strong adhesion properties and resistance against extreme temperatures and chemicals. It’s important to remember not to overapply when using this method; too much adhesive can create a mess which could potentially lead to cell failure down the line.
Applying a protective coating of shrink wrap tape after sealing adds additional strength while still allowing access if needed at a later stage without having to break open the case again.
With these guidelines followed properly, you can rest assured knowing your lithium battery packs have been sealed securely with quality materials providing long-lasting protection from external elements like dust, gas and moisture intrusion as well as unintentional contact between terminals or other sources of electricity which could cause short-circuiting or fire hazards.
Function Testing And Calibration
Function testing and calibration of a lithium battery pack is essential to ensure that it performs properly. This process involves diagnosing the battery’s function, and then calibrating it to bring its performance up to the manufacturer's specifications.
The first step in this process requires performing an accurate diagnosis of the battery’s current status. To do so, a technician must use specialized equipment such as multimeters and oscilloscopes to measure voltage and power output across different cells within the pack.
The results obtained from these tests should be compared to those listed on the product's technical data sheet (TDS). If any discrepancies are found, further adjustments may need to be made before proceeding with calibration.
Once all measurements have been taken, the next step is calibrating the battery by adjusting voltage levels across individual cells until they meet or exceed their required values according to the TDS.
A qualified technician will also monitor cell temperature during calibration, ensuring that it stays below safe operating limits throughout this process.
Once complete, additional tests can be performed beyond those outlined in the TDS for confirmation purposes if necessary.
In order to ensure proper lithium battery pack operation over time, periodic recalibration using similar techniques may be required due to normal usage conditions or changes in ambient temperature affecting stored energy levels within individual cells.
It is recommended that technicians consult manufacturers' guidelines prior to beginning any repair procedure involving lithium batteries for safety reasons; improper handling could lead to serious injury or even death due to possible fire or explosion risks associated with incorrect procedures being followed.
Troubleshooting Possible Issues
It may seem ironic that one of the most common questions asked about lithium battery packs is how to repair them. After all, these devices are intended to be long-lasting and reliable.
Nonetheless, there are still times when troubleshooting and repairs are necessary. With this in mind, below is a table that outlines some possible issues with lithium battery packs along with their corresponding solutions:
| Issue | Troubleshooting | Solution |
|---|---|---|
| Battery not charging | Check power supply/charger for proper connection; check voltage levels; check temperature level of charger or device being charged | Replace faulty parts or components as needed; adjust settings if applicable; clean connectors or contacts when necessary |
| Low capacity | Measure the current draw from the pack using an ammeter or multimeter; ensure the correct load on the pack by checking sensor readings and other relevant parameters | Adjust settings as necessary (e.g., cut off voltage); replace any outdated parts or components; reduce the charge time to decrease heat build-up inside battery cells |
| Overheating during operation/charging cycle | Monitor temperature levels closely while operating/charging; inspect the exterior condition of the battery pack for damage (e.g., cracks) and look for signs of moisture seepage into the pack’s interior components | Inspect cell connections within the battery pack for shorts/breaks; replace damaged cells where required; improve ventilation around the battery pack during operation/charging cycles; add cooling fans to dissipate heat more quickly if needed. |
In identifying potential problems associated with a lithium battery pack, it is important to remember that each issue will require its own unique approach toward resolution.
The table above serves only as a general guide to help diagnose any potential problems related to a lithium battery pack's performance prior to attempting repair work.

Final Preparation And Storage
Having identified the issue with a lithium battery pack, it is now necessary to complete the repair process with final preparation and storage procedures. To ensure that the lithium battery pack is safely stored and managed properly, it is important to take into account the following elements:
- Final Preparation:
- Check for any signs of corrosion or damage on the cell contacts.
- Ensure all electrical connections are secure and free from dirt or debris.
- Reconnect disconnected components if applicable.
- Test the functionality of all parts connected to the battery pack using appropriate testing equipment.
- Storage Procedures:
- Place batteries in their original packaging before storing them in a cool and dry environment away from direct sunlight and extreme temperatures.
- Avoid charging/discharging when not in use for extended periods of time as this can reduce cell performance over time.
- Monitor cell voltage regularly to identify any irregularities which may indicate an imbalance between cells.
It is essential that regular maintenance checks be conducted on each individual cell within a lithium battery pack to ensure they remain safe during storage and usage activities.
This includes inspecting each cell for signs of wear or physical damage, checking its internal resistance, temperature regulation functions, balancing charge levels across all cells every few months, etc., so as to maintain optimum performance throughout its lifespan.
Frequently Asked Questions
How Long Does A Lithium Battery Typically Last?
Studies have shown that the average expected lifespan for a lithium battery ranges from 2-3 years with proper maintenance.
Factors such as temperature, charging frequency, charging speed, and age also play an important role in determining the longevity of a lithium battery pack.
For instance, temperatures below freezing may reduce the performance and shorten the life expectancy of lithium batteries due to chemical reactions within them.
What Are The Most Common Causes Of Lithium Battery Failure?
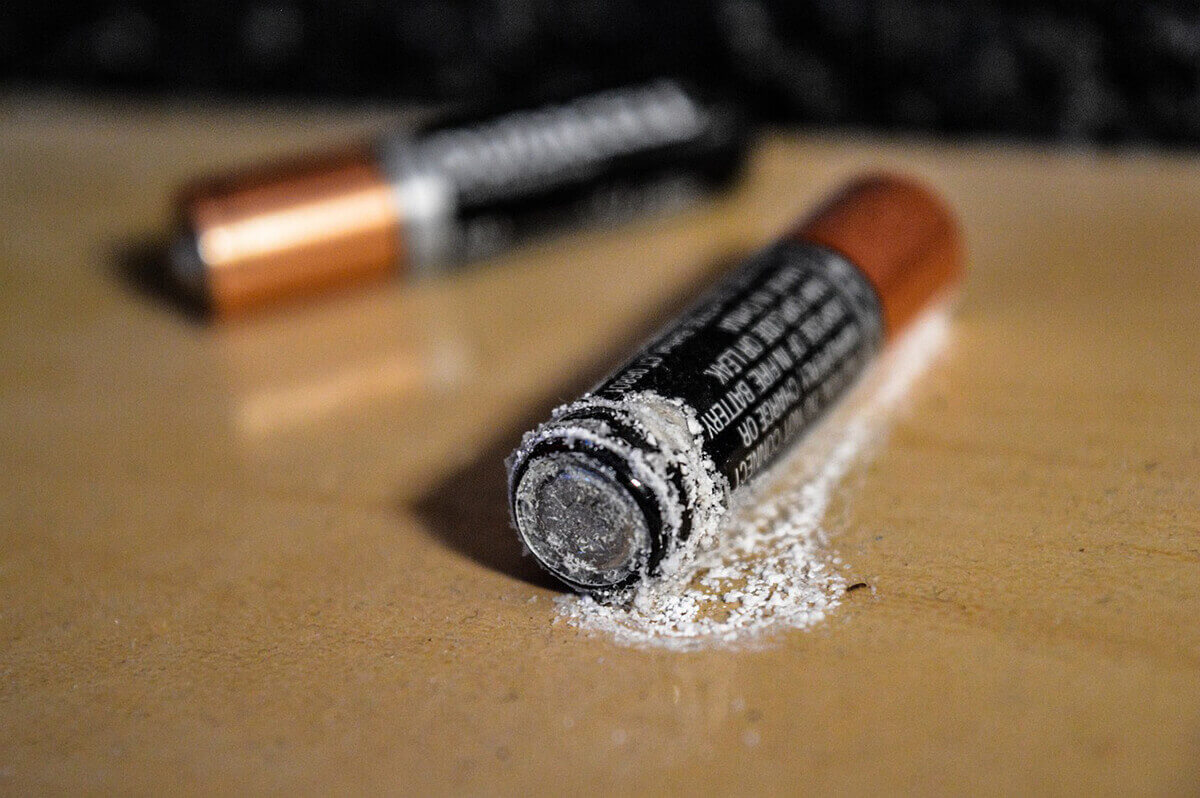
The common cause of lithium battery failure is usually overcharging, overheating, physical damage, lifespan, manufacturing defects, exposure to moisture, improper storage, etc.
So it's important to take steps to prevent lithium battery failure by following proper storage, charging, and handling procedures.
If you suspect that your lithium battery is failing, it's best to replace it rather than continue to use it, as a failing battery can pose a safety risk.
How Much Does It Cost To Repair A Lithium Battery Pack?
The cost of repairing a lithium battery pack depends on the type and extent of the damage. Generally, repair costs vary depending on the complexity and time needed to diagnose the issue.
For example, if a technician needs to disassemble the battery using special tools and materials, it will be more expensive than if they just need to replace some components or do minor repairs.
When repairing a lithium battery pack, it is important to consider both labor costs and parts replacement costs. Labor costs depend on how long it takes for technicians to identify the problem and make necessary repairs.
Parts replacement costs can range from several hundred dollars for simple replacements like cells or wires, up to thousands of dollars for larger items such as circuit boards or controllers.
If an entire system requires replacing due to irreparable damage, that could result in much higher repair costs.
Are Lithium Batteries Environmentally Friendly?
Lithium batteries have some advantages over other types of batteries in terms of environmental impact.
For example, they have a longer lifespan, are more energy-efficient, and have a higher energy density than many other types of batteries. Additionally, they do not contain toxic heavy metals like lead or cadmium.
However, lithium batteries are not without environmental drawbacks. The production of lithium batteries requires significant amounts of energy and natural resources, including water, metals, and minerals.
Additionally, if not properly disposed of, lithium batteries can pose a risk to the environment and human health, as they can release toxic chemicals and heavy metals into the soil and water.
While lithium batteries are not perfect in terms of environmental impact, they are a relatively environmentally friendly choice compared to many other types of batteries, as long as proper disposal and recycling practices are followed.

What Are The Differences Between Lithium-Ion And Lithium-Polymer Batteries?
Lithium-ion and lithium-polymer batteries are two common types of battery technology used in a variety of electronics. The most significant difference between them lies in their power capacity and safety features.
The major advantage that lithium-ion cells have over their polymer counterparts is that they can hold more energy per unit volume than any other commercially available rechargeable cell.
This makes them ideal for powering portable devices such as laptops and smartphones where size matters. In addition, lithium-ion cells also have higher rates of efficiency and durability compared to other cell chemistries.
On the downside, however, Lithium-ion cells require built-in safety measures due to their high reactivity with oxygen, making it prone to catching fire if not handled properly during charging or discharging.
In contrast, while Lithium Polymer (LiPo) batteries offer less voltage stability than LiIon cells, they provide superior flexibility since they can be manufactured into various shapes and sizes with fewer constraints on design.
Additionally, some LiPo packages contain additional safety features like temperature sensors to help prevent overheating issues from happening during charge cycles.
By comparison, however, LiPo's lower energy density means it has less power capacity than a similarly sized LiIon pack so this should be taken into consideration when selecting what kind of battery packs are suitable for certain applications.
As professional repair technicians working with lithium battery packs must take into account the different characteristics each type presents in order to ensure optimal performance without compromising safety protocols or risking damage from improper handling procedures.
It is therefore essential that technical personnel familiarise themselves with both technologies before attempting any repairs involving either type of battery pack.

Summarize
In conclusion, learning how to repair your dead lithium battery pack can save you money and reduce waste. By following the steps outlined in this blog post, you can take control of your device's battery life and avoid the frustration of constantly buying new batteries. Remember to always prioritize safety when working with lithium batteries and follow proper procedures for disassembly, inspection, and reassembly.
By properly caring for your lithium batteries, you can extend their lifespan and get the most out of your devices. Don't forget to also properly store and dispose of your batteries when they have reached the end of their useful life. If you have any questions or concerns about repairing your lithium battery pack, consult with a professional or lithium battery manufacturer for guidance.
We hope that this guide has been helpful in teaching you how to revive your dead lithium battery pack. With some patience and attention to detail, you can repair your battery pack and get back to using your favorite devices in no time.