RV Battery Not Charging While Driving - 11 Fault Analysis
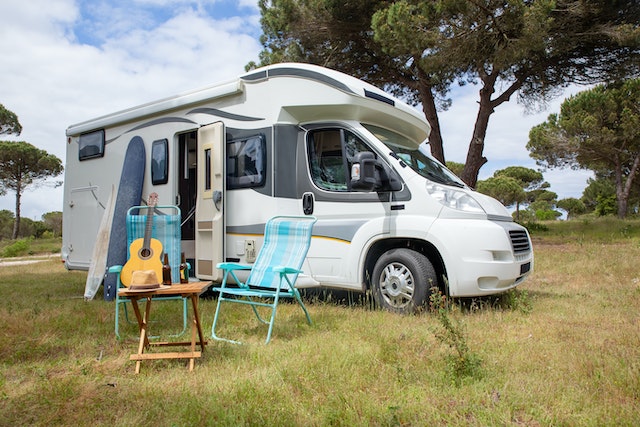
RV batteries are essential components of recreational vehicles, providing the power needed for interior appliances and lighting. When an RV battery is not charging while driving, it can cause a number of problems for its owner. This article examines potential causes and solutions for this common issue.
The first section will focus on identifying the source of the problem by examining possible underlying issues such as incorrect wiring or faulty electrical components. Solutions to these problems range from simple repairs that can be done at home to more complex fixes that may require professional help. The second part will explore other ways to maintain a healthy battery in order to prevent similar issues from occurring in the future. Finally, some general tips on how to maximize RV battery life will also be discussed.
By exploring all aspects related to RV batteries not charging while driving, readers should gain a better understanding of this topic and find helpful advice on how they can tackle any arising issues with their own vehicle’s battery system.
How Do RV Batteries Work?
RVs and other recreational vehicles rely on batteries to provide power for essential functions. An RV battery is a type of deep-cycle lead-acid battery that serves as the main source of electricity in an RV, providing short-term energy storage and allowing the vehicle’s systems to operate when not connected to shore power or running its generator.
The two most common types of RV batteries are wet cell (flooded) batteries, which require regular maintenance, and AGM (Absorbed Glass Mat) batteries, which are more expensive but require less maintenance. Both styles contain multiple cells filled with sulfuric acid electrolyte solution and have positive plates composed of lead dioxide and negative plates made up of pure lead.
When discharged, these plates react with the electrolyte solution creating an electrical current, which powers various devices in the RV such as lights and appliances. During recharging, this process is reversed enabling the battery to store energy from sources like solar panels or generators until it needs to be used again.
How to Charge an RV Battery While Driving?
Charging your RV battery while driving is a great way to ensure your vehicle stays powered and ready for any destination. If you're looking for an easy way to charge your RV's battery, a DC-DC charger is the perfect solution.
It works by connecting directly to the RV's alternator and drawing power from it to charge the RV's battery while you're driving. Plus, they serve as backup power in a pinch, ensuring your motorhome is fully equipped no matter where your travels take you.
DC-DC chargers have a variety of settings that allow you to customize the charge rate of your RV battery and give you always full control over the energy you use during each trip.
Why is the RV Battery Not Charging While Driving?
(Video produced by the Camping World team)
(1) Clogged Air Filter
A clogged air filter can cause an RV battery to not charge while driving. An air filter blocks dust, pollen and other particles from entering the engine of a vehicle. When the air filter is blocked by dirt or debris, it restricts airflow which reduces efficiency in the combustion process. This reduction in efficiency results in less power being produced for charging the battery, leading to a decrease in voltage output.
In addition, when there are contaminants like exhaust fumes present on the surface of the air filter due to blockage, they can prevent proper electrical contact with components within the system. This interruption of electrical flow will also lead to decreased performance and thus result in an undercharged battery during driving time. It is important to replace a dirty or clogged air filter as soon as possible if one notices that their RV’s battery isn't charging correctly while driving.
(2) Low Oil Level
Low oil levels can cause an RV battery to not charge while driving. An engine needs enough oil in order to function properly, and if there is insufficient lubrication this can lead to the alternator being unable to generate electricity correctly. This will then prevent the battery from charging up, as it relies on energy coming from the alternator. In addition, a low level of oil may also indicate underlying problems with the engine which could be causing further issues that are preventing the battery from recharging itself.
If oil levels are found to be low, it is important for owners of RVs to check their engines for any potential damage or other faults. It may be necessary for them to replace parts such as filters or spark plugs, or carry out more extensive repairs depending on what is discovered during the inspection. Taking these steps should ensure that the problem has been resolved and that the battery will once again begin charging while traveling in an RV.
(3) Faulty Charging System
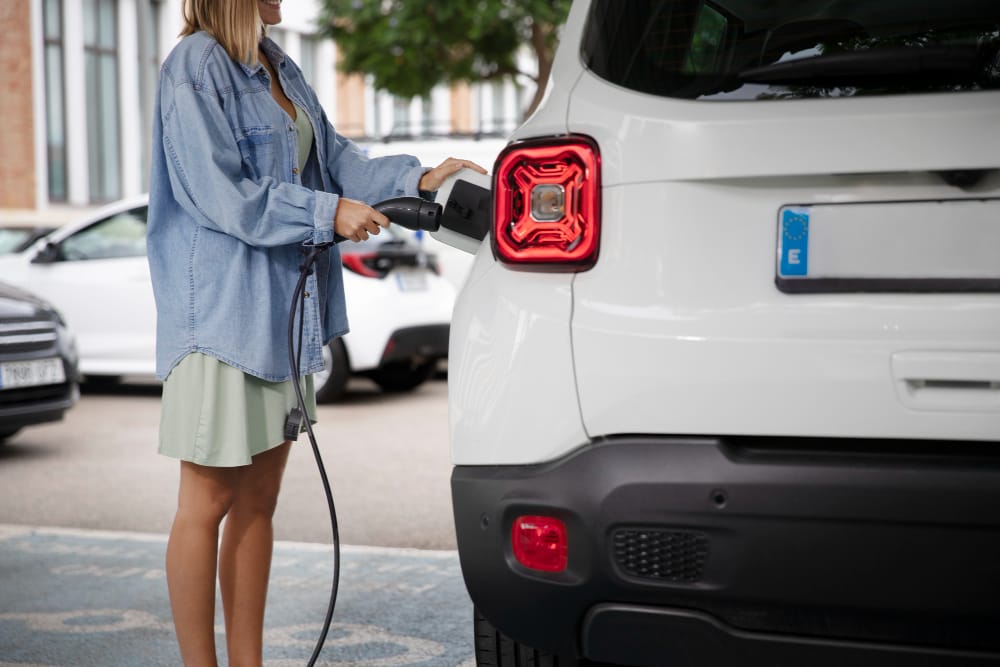
A vehicle's charging system consists of components such as an alternator and regulator, which work together to ensure that the vehicle has enough power for its electrical systems, including the RV battery. If any one of these components fails, then this can impact the amount of charge being delivered to the battery from the engine and thus affect how well it charges when driving.
How to diagnose if the vehicle charging system is faulty:
- First, check all cables and connections between the alternator and the battery for signs of corrosion or other damage.
- Inspect all wiring harnesses for any visible signs of wear.
- Verify that all fuses are intact and rated for their intended use.
- Finally, use a multimeter to measure the voltage output at various points throughout the circuit - anything below 13 volts indicates a problem with one or more components in the charging system.
(4) Loose Or Corroded Battery Connections
Loose or corroded battery connections can cause an RV battery not to charge while driving. This is because the electrical current from the alternator, which supplies power to the battery as a vehicle runs, may be unable to reach it due to weak or broken wires and terminals.
To diagnose the battery connection:
- First check all wiring leading to the battery terminals for any signs of corrosion.
- Check that all connectors are securely connected so that they do not come off during operation.
- Use a wrench to tighten any loose connections before attempting to start the engine again.
(5) Faulty Voltage Regulator
The voltage regulator is responsible for controlling the amount of current flowing into the vehicle's battery. If the voltage regulator fails, it can cause too much power to enter the system and overcharge the battery, causing capacity to drop and ultimately no charge at all. Any problems with the voltage regulator need to be identified as soon as possible so they can be resolved before more extensive damage occurs.
How to judge the voltage regulator failure:
- Visual inspection may reveal signs of wear to its components, such as melted wires or cracked circuit boards.
- Also, if the alternator light comes on or goes off unexpectedly when you rev the RV, it could indicate a problem with the voltage regulator.
(6) Poor Wiring And Fuses
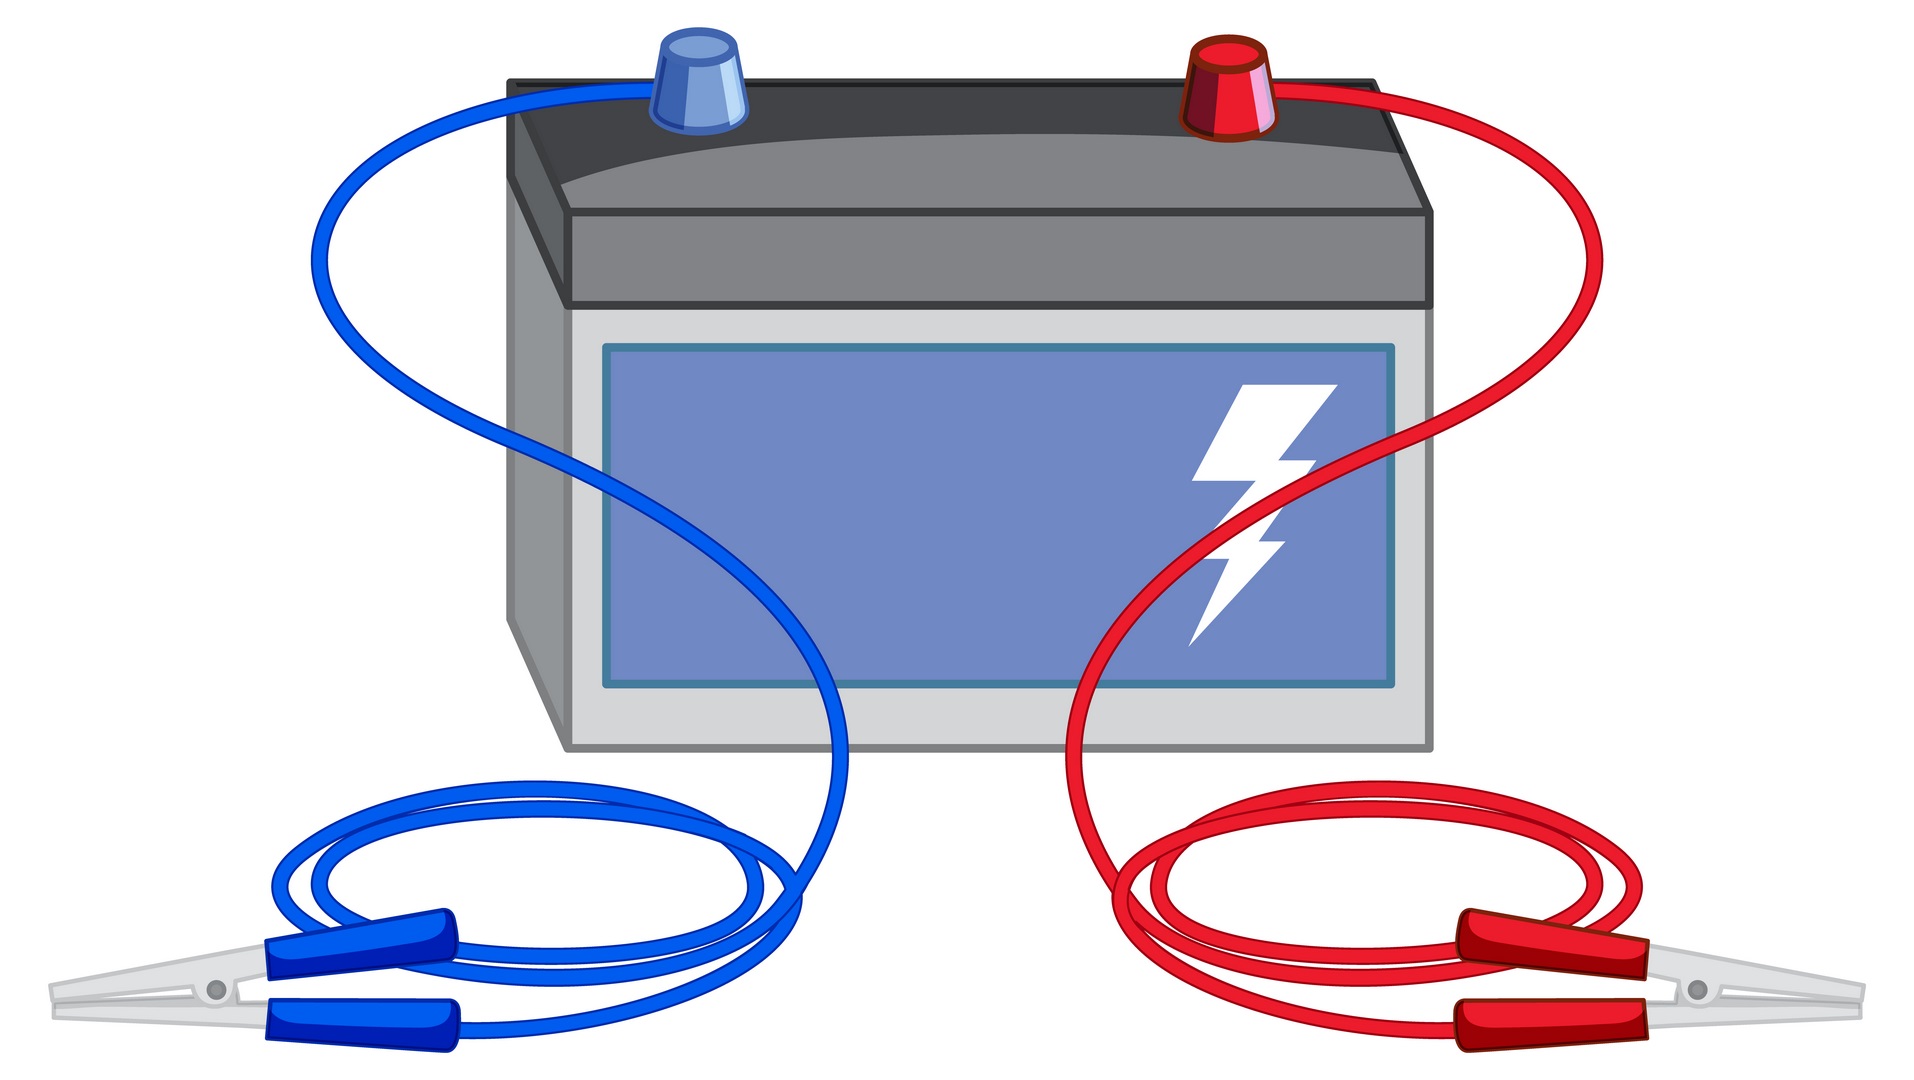
If there are problems with the wiring and fuses, the RV battery may not charge while driving. Poor power cord connections as well as faulty or corroded fuses can prevent an RV battery from charging. The electrical system of a recreational vehicle is complex because of the various components that need to be wired together in order to function properly.
How to troubleshoot bad wiring and fuses:
- All wires must make good contact and be securely held in place with fasteners such as screws, bolts, or clips.
- Check the fuse box for damage from corrosion or water ingress.
If either of these conditions exists, the circuit will most likely not work properly and cause the battery to lose power while moving. It is important to thoroughly inspect each component before attempting repair or replacement to ensure safety and accuracy during maintenance operations.
(7) Dirty Battery Terminals
If the smell of gleaming metal shavings on the ground and a faint acid fume wafts in the air, it's clear that something is wrong with the RV battery. Dirty terminals are often one of the culprits for an RV battery not charging while driving. Battery terminals get dirty when exposed to the elements like rain, dirt and debris, which oxidize and rust around them. This buildup on the terminals makes it difficult for electrons to pass through, reducing the current flowing into the battery and preventing the battery from charging properly.
Regular cleaning of these terminals will help ensure a smoother flow of power from the alternator to the battery and prevent corrosion or dirt buildup.
How to clean the battery terminals:
- Start with a wire brush, baking soda paste (for harder cases), rags/paper towels, and water.
- Disconnect the RV's negative terminal, then use a wire brush to brush away any particles found in or near the positive and negative posts until they glow again.
- Then mix the baking soda paste with water and apply it directly to each post as this will help remove more stubborn deposits such as rust or dry acid if present.
- When you're done, use a rag or paper towel to remove any residue before connecting everything back together - making sure you make a tight connection after screwing the clamps firmly in place - then start the engine to test.
(8) Overly Discharged Batteries
An overly discharged battery can be a cause of an RV battery not charging while driving. An overly discharged battery has lost too much energy, which causes the voltage to drop below 10 volts and can be caused by excessive discharging or allowing the vehicle to sit idle for long periods of time without connecting it to a charger.

The effects of an overly discharged battery are detrimental because when the voltage falls below 8 volts, the cells become damaged and unable to hold a charge. In addition, if left unchecked over longer periods of time, sulfation begins to occur inside the plates within each cell causing permanent damage perhaps requiring the replacement of the entire system. As such, it is important that regular maintenance checks are done on all batteries connected to vehicles and RVs as well as other devices where applicable in order to ensure they remain operational at peak performance level.
Regular maintenance to prevent over-discharging:
- Measure open circuit voltage (OCV)
- Check the electrolyte level
- Load test where possible
- Tests such as equalizing charge if necessary and proper storage protocol if required.
Taking these steps will help keep batteries charged properly and prevent them from over-discharging, avoiding potentially costly repairs and replacements.
(9) Failed Diode In The Alternator
A failed diode in the alternator can cause an RV battery to not charge while driving. When a diode fails, it will no longer be able to convert AC (alternating current) from the alternator into DC (direct current). Without this conversion, the power generated by the alternator is unable to provide any additional charge to the battery. As such, even as long as the engine is running and providing electrical energy, the battery may still remain completely discharged or at least not receive enough of a charge to meet its needs.
Methods for diagnosing faulty diodes:
- Test with a multimeter that can measure the resistance across the diode.
- Some mechanics prefer to use an ohmmeter to check continuity.
In either case, an open circuit reading between the two leads associated with a single diode probably means it's bad and must be replaced immediately.
(10) Stop/Start Feature Malfunctioning
This system works by monitoring the speed of your RV and automatically engaging or disengaging the starter motor depending on whether you are driving or parked respectively - conserving energy in both cases: allowing the engine to idle while stationary and not draining your RV’s electrical resources when moving.
The problem arises when either component fails; if the sensor cannot detect motion then the starter will never turn off even though you may be traveling at speed, resulting in no charging taking place as current is being drawn instead. This could eventually cause serious damage that would require expensive repairs so prevention ultimately remains key here.
Regular maintenance checks should be undertaken to ensure all parts are working correctly and regular inspections made to identify any potential issues before they become critical failures.
(11) Battery Cables Too Long Or Thin
Battery cables that are too long or thin, poor connections, corrosion, and the wrong size can all prevent your RV battery from charging while in motion.
How to diagnose cable problems:
- Check the positive and negative cables for any signs of corrosion or damage.
- Make sure each cable is properly connected to the corresponding terminal on the battery post.
- Measure the length and width of each cable; if either measurement is incorrect, it may prevent enough power from flowing through them to prevent the battery system from charging.
How to repair/replace the cable:
- If there are visible signs of corrosion, remove it with fine steel wool before disconnecting or replacing cables.
- To replace existing kits with new ones, make sure they are of sufficient size (width) and length so that no further problems arise during road driving regarding insufficient current for charging purposes.
- Ensure proper connection between terminals using appropriate tools (eg wire pliers, crimp connectors, etc.) to ensure a secure connection without compromising the conductivity of the contacts on either end.
All these steps should help diagnose and fix this particular cause of an RV battery not charging while driving due to poor connections caused by overly long and thin cabling. With their correct installation based on lithium battery manufacturer specifications, one can expect improved electrical energy transfer efficiency which would consequently lead to successful recharging even when in transit mode.
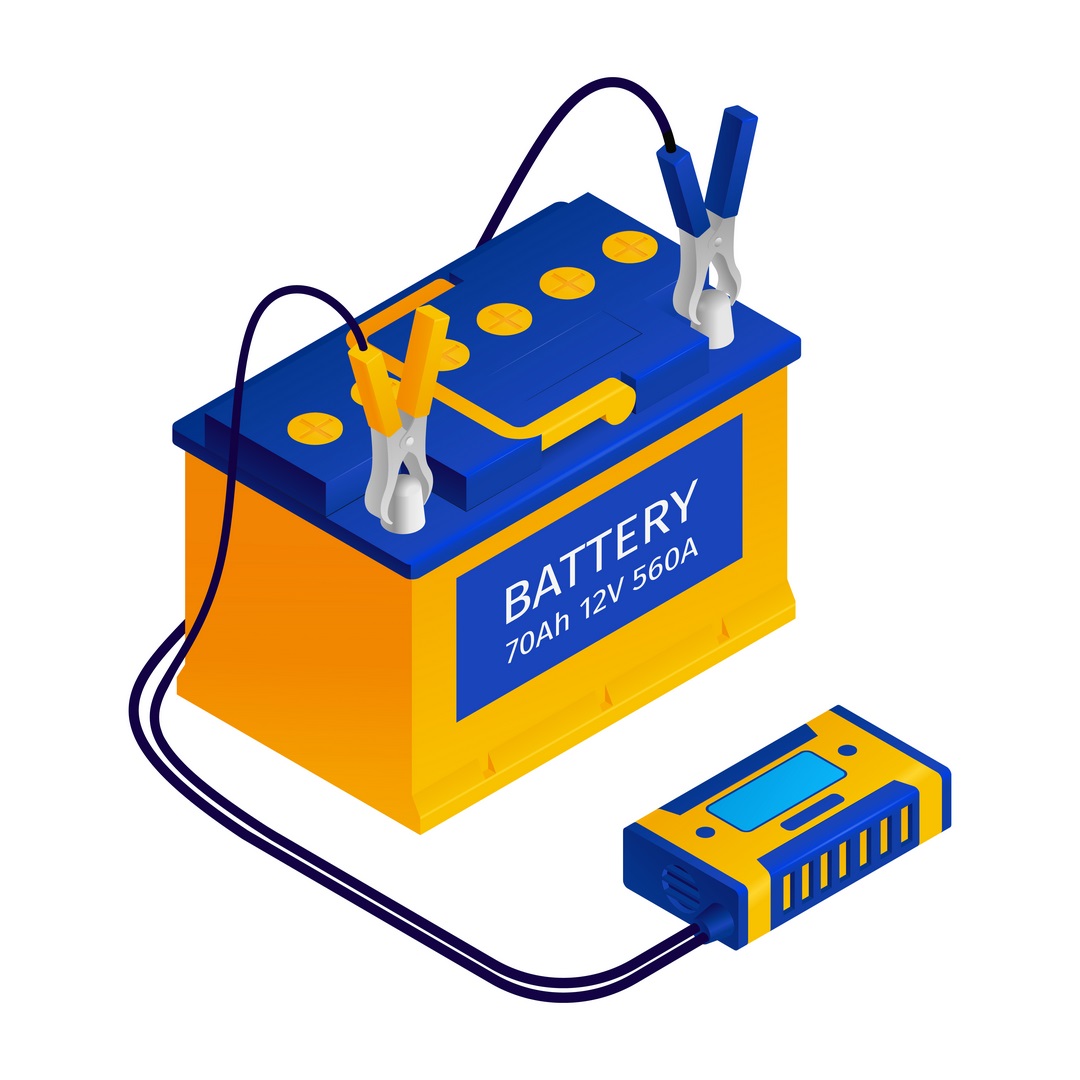
(12) Insufficient Output From The Alternator
One of the most common causes for an RV battery not charging while driving is insufficient output from the alternator, this can be caused by a faulty connection or worn-down bearing.
The alternator supplies power to your RV’s electrical system while you drive, providing electricity to charge batteries and run other systems like lights, air conditioning, etc. The energy comes from the rotation of a pulley that drives a belt connected to your engine. As the engine rotates so does this pulley, generating electricity and sending it through wires into your RV. When there are problems with connections or bearings associated with this pulley, it may cause the alternator to malfunction resulting in decreased performance or no power at all being sent through its wires and ultimately leading to an uncharged battery while driving.
Test the unit with an automotive multimeter and check its output voltage. If the reading is below 13 volts, it needs to be replaced.
How to replace a defective alternator:
- Start by disconnecting the negative cable from the vehicle's battery, then remove the mounting bolts holding the old unit in place.
- Disconnect it from any wiring harnesses before removing it from the vehicle.
- Once removed, the new alternator must be installed according to the manufacturer's instructions and securely connected to the battery cables and other wires using the appropriate connectors.
- After completing and tightening all connections, double-check that they are connected correctly before turning on the ignition key and test driving the vehicle again to ensure the normal performance of the engine and charging system.
How To Properly Charge an RV Battery While Driving?
1. First, it is important to make sure that the RV's charging system is functioning properly and that all connections are secure, including the connections from the alternator to the battery terminals and any other cables or wires connecting electrical system components.
2. Also, it is important to check that all fuses and circuit breakers are operating properly; if they appear damaged or worn, replace them immediately.
3. Their vehicle's voltage regulator settings should be checked to determine how much charge is being sent back to the battery while driving - too little will prevent the battery from fully charging. Adjusting this setting, if necessary, will help improve its charging capabilities.
3. When driving long distances at a constant speed, the driver may need to adjust the engine speed to feed more energy back into the battery through the alternator.
4. Finally, running some electrical appliances such as lights or fans during travel can also provide additional power input to the battery.
By following these steps carefully and monitoring both system performance and settings regularly throughout trips, RV owners can easily maintain healthy batteries and keep their vehicles' electrical systems up and running no matter where their travels lead them.
Other Ways To Charge RV Batteries
RV batteries can be charged in a number of different ways:
- Use an on-board generator that generates electricity to charge the battery while it is running.
- Plug the campsite or RV park shore power cord directly into the RV and use AC power to charge the battery.
- The solar panel can also be used to provide direct current (DC) energy to charge the RV battery. This type of system consists of photovoltaic cells mounted on a portable frame that connects directly to the RV's battery pack.
- Smaller systems such as wind turbines or hydroelectric generators can also be used to generate a DC output to charge RV batteries.
Regardless of the type of charging system chosen, it is important to ensure that all cables and connections are properly matched to their respective components so that damage does not occur during charging. Additionally, these systems should always be checked and maintained regularly to prevent any unexpected problems due to miswiring or other mechanical issues. Ultimately, having a variety of options helps ensure that there is always a way to keep your RV's batteries fully charged and ready when you need them.
How Do You Know If the RV Battery Is Dead?
The first way to check your battery is with a voltmeter. If the voltage reading is 12 volts or below, then it’s likely that your battery has died and needs replacing. Additionally, take notice of any corrosion around the terminals as this could indicate an issue with the battery's charge capacity. Furthermore, inspect the cables for any damage such as fraying or cracking which may reduce its power output when in use.
Another test you can perform is by testing each cell individually using a hydrometer. In order for the cells to properly function together, all must have similar levels of electrolyte concentration within them; a difference will cause an imbalance and prevent efficient charging from occurring.
Finally, ensure that both your main vehicle alternator and auxiliary charger are functioning correctly as either one failing could result in insufficient charging being provided to the batteries while driving.
With these steps taken into account, you should now have some insight into why your RV battery isn't charging while driving - allowing you to make informed decisions about what repairs need to be made going forward.
Is It Bad To Leave Your Rv Battery Plugged In All The Time?
RV batteries are typically charged with a converter/charger system when the vehicle is stationary and running. This charging method, however, does not work while driving as the alternator cannot supply sufficient power to charge the battery. As such, leaving an RV battery plugged in all the time can be beneficial if it allows for longer periods of charging or top-up charges between trips.
On the other hand, there are potential drawbacks associated with leaving an RV battery plugged in at all times. Overcharging the battery could lead to rapid degradation, resulting in reduced capacity and shorter life spans. Additionally, overcharging can also cause gassing that leads to water loss from within the cells and increases corrosion on terminals or connections. In order to prevent this kind of damage, owners should ensure their charger settings adhere to manufacturer guidelines and avoid long-term connection if possible.
Should I Take Out The RV Battery In Winter?
It is generally recommended that you take out your RV battery during the winter months. This is because exposure to extreme cold can decrease its efficiency and reduce its ability to charge. Additionally, leaving a battery in the vehicle while it’s stored may result in sulfation or freezing of the electrolyte solution inside. If this happens, it may not be able to hold a charge any longer, rendering it useless.
To further protect your battery from damage caused by cold weather, you should store it in a cool area such as an unheated garage or basement. When storing batteries outdoors, make sure they are kept away from direct sunlight and elements like snow and rain. It's also important to keep them away from combustible substances like gasoline or kerosene since these could cause a fire hazard if exposed to sparks or flames. Additionally, check on them periodically throughout the winter season and top up their electrolyte levels with distilled water when necessary.
How To Better Maintain Rv Battery Life?
As the sun sets over a vast, open horizon, there is nothing more peaceful than spending an evening in your RV. However, if your battery isn’t working properly and won’t charge while you are driving, this can be extremely frustrating. Fortunately, there are several steps that you can take to prolong the life cycle of your RV battery and ensure it stays charged for longer periods of time:
Invest in premium quality batteries: Investing in high-quality batteries will pay dividends when it comes to maintaining long-term performance from your RV's electrical system.
Monitor charging levels regularly: Regularly monitoring the charging level of your batter helps identify any problems early on before they become serious issues.
Avoid leaving lights or other appliances running unnecessarily: Unnecessary use of lights and other appliances draws power away from essential systems such as the engine and brakes, which could cause damage to the battery over time.
Being mindful of these tips not only helps maintain optimal battery performance but also reduces wear and tear on components throughout the entire vehicle allowing owners to enjoy their RVs with peace of mind knowing their vehicles have been well taken care of!
Summarize
In conclusion, if the RV battery is not charging while driving, there are several possible causes that can be checked.
First and foremost, check the wiring between the alternator and the RV battery and the health of the RV battery itself. Make sure there are no loose connections, cleaning with a multimeter will minimize corrosion.
Then check the alternator for damage, before checking other components such as fuses, circuit breakers, and relays that may be faulty. Testing these components one by one in an orderly fashion can help you determine which parts need to be replaced if necessary.
Ultimately, properly maintaining your RV battery can help ensure it will run reliably on the road without worrying about battery failure due to old parts failing.
And regular maintenance and inspections of your RV batteries and equipment can prevent accidents, so be sure to take the time to go through all of these steps thoroughly to keep everything in tip-top shape!
Best Lifepo4 RV Battery for Your Choice - HARVEYPOW
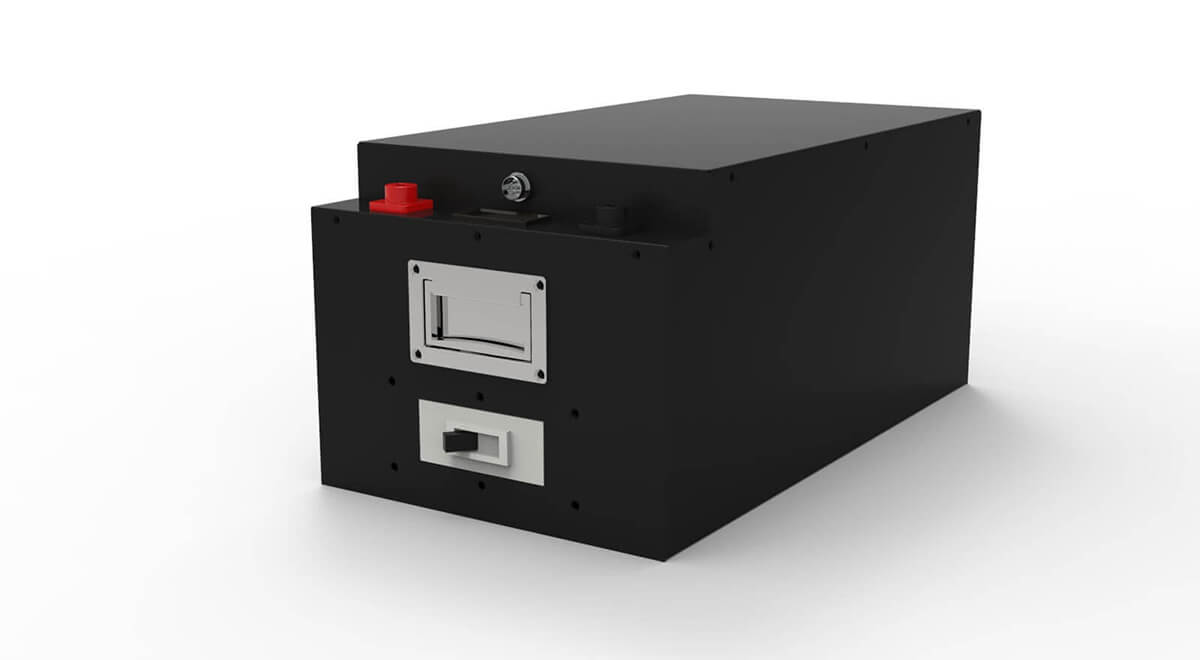
HARVEYPOW RV batteries combine advanced lithium iron phosphate battery technology with reliable construction, making them ideal for recreational vehicles.
Its top-notch safety features and solid build mean you can confidently trust its performance, while its long life of over 8000 cycles ensures you won't have to replace this RV battery anytime soon.
On top of that, HARVEYPOW comes with a 12-YEAR WARRANTY, so you can travel with confidence knowing your RV battery is up to any challenge.
The HARVEYPOW lifepo4 battery manufacturer has created a valuable solution for RV owners looking for an efficient, long-lasting battery.
More FAQ
(1) How do I know if my RV converter is charging my battery?
Check the voltage regulator, main breaker, and terminals for signs of wear or damage.
It's also wise to pay attention to any dimmer switches and circuit breakers; make sure they're in the off position, as this could indicate a problem with the converter connection.
Finally, use a digital multimeter to measure the AC voltage and DC current when plugged into shore power to ensure the RV battery is being charged accurately and efficiently.
(2) How do I test my RV converter for troubleshooting?
Remove all loads on the RV system by first turning off all appliances, lights, and fans running in the RV.
Next, set the multimeter to its DC V range and place its probes on the RV battery while it charges.
If the reading returns to between 13.6-13.8 volts when not running then the RV converter is working properly. If the reading is significantly lower than expected, it may indicate a problem with the RV converter and should be further checked by an experienced professional.
(3) How long will a 12v RV battery last?
Generally speaking, a 12V RV battery lasts 2-3 days with normal use before needing to be recharged, allowing you to keep lights and other appliances running while off-grid camping.
However, factors such as weather, power usage, and how often you need to recharge your car can affect how long your RV battery will last.
(4) Does the RV inverter charge the battery?
Yes, an RV inverter can charge an RV battery in a number of different ways. The most common is to connect it to a solar panel or an AC power source, such as an outdoor generator, electricity at a campsite, or to plug your vehicle into a wall outlet.
When connected to a power source, an RV inverter converts alternating current (AC) to direct current (DC), which can be used to charge the RV battery.
Plus, car RV inverters allow you to use both AC and DC power so you can run more complex items and appliances from your RV while making sure you don't run out of juice.
(5) How long does it take to charge an RV battery with a truck?
On average, it takes about 4-6 hours to fully charge an RV battery with a truck. But the size of the RV battery, the type and condition of the truck's alternator, and how depleted the battery has all affected charging time.
