RV のバッテリーが走行中に充電されない - 11 故障分析
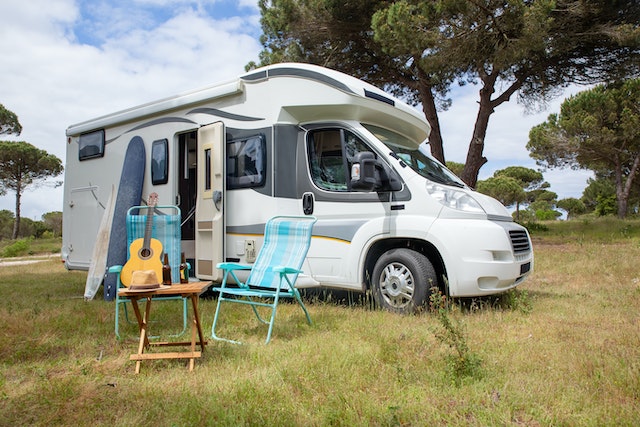
RV バッテリーは、RV 車両に不可欠なコンポーネントであり、車内の電化製品や照明に必要な電力を供給します。運転中に RV バッテリーが充電されない場合、所有者にさまざまな問題を引き起こす可能性があります。この記事では、この一般的な問題の潜在的な原因と解決策について説明します。
最初のセクションでは、配線の誤りや電気部品の故障など、潜在的な問題の可能性を調べて、問題の原因を特定することに焦点を当てます。これらの問題の解決策は、自宅でできる簡単な修理から、専門家の助けが必要な複雑な修理まで多岐にわたります。第2部では、健康的な生活を維持するための他の方法について検討します。 バッテリー 将来同様の問題が発生するのを防ぐためです。最後に、RV バッテリーの寿命を最大限に延ばすための一般的なヒントについても説明します。
運転中に RV バッテリーが充電されないことに関連するすべての側面を調べることで、読者はこのトピックをより深く理解し、自分の車両のバッテリー システムで発生する問題にどのように対処すればよいかについて役立つアドバイスを見つけることができます。
RV バッテリーはどのように機能しますか?
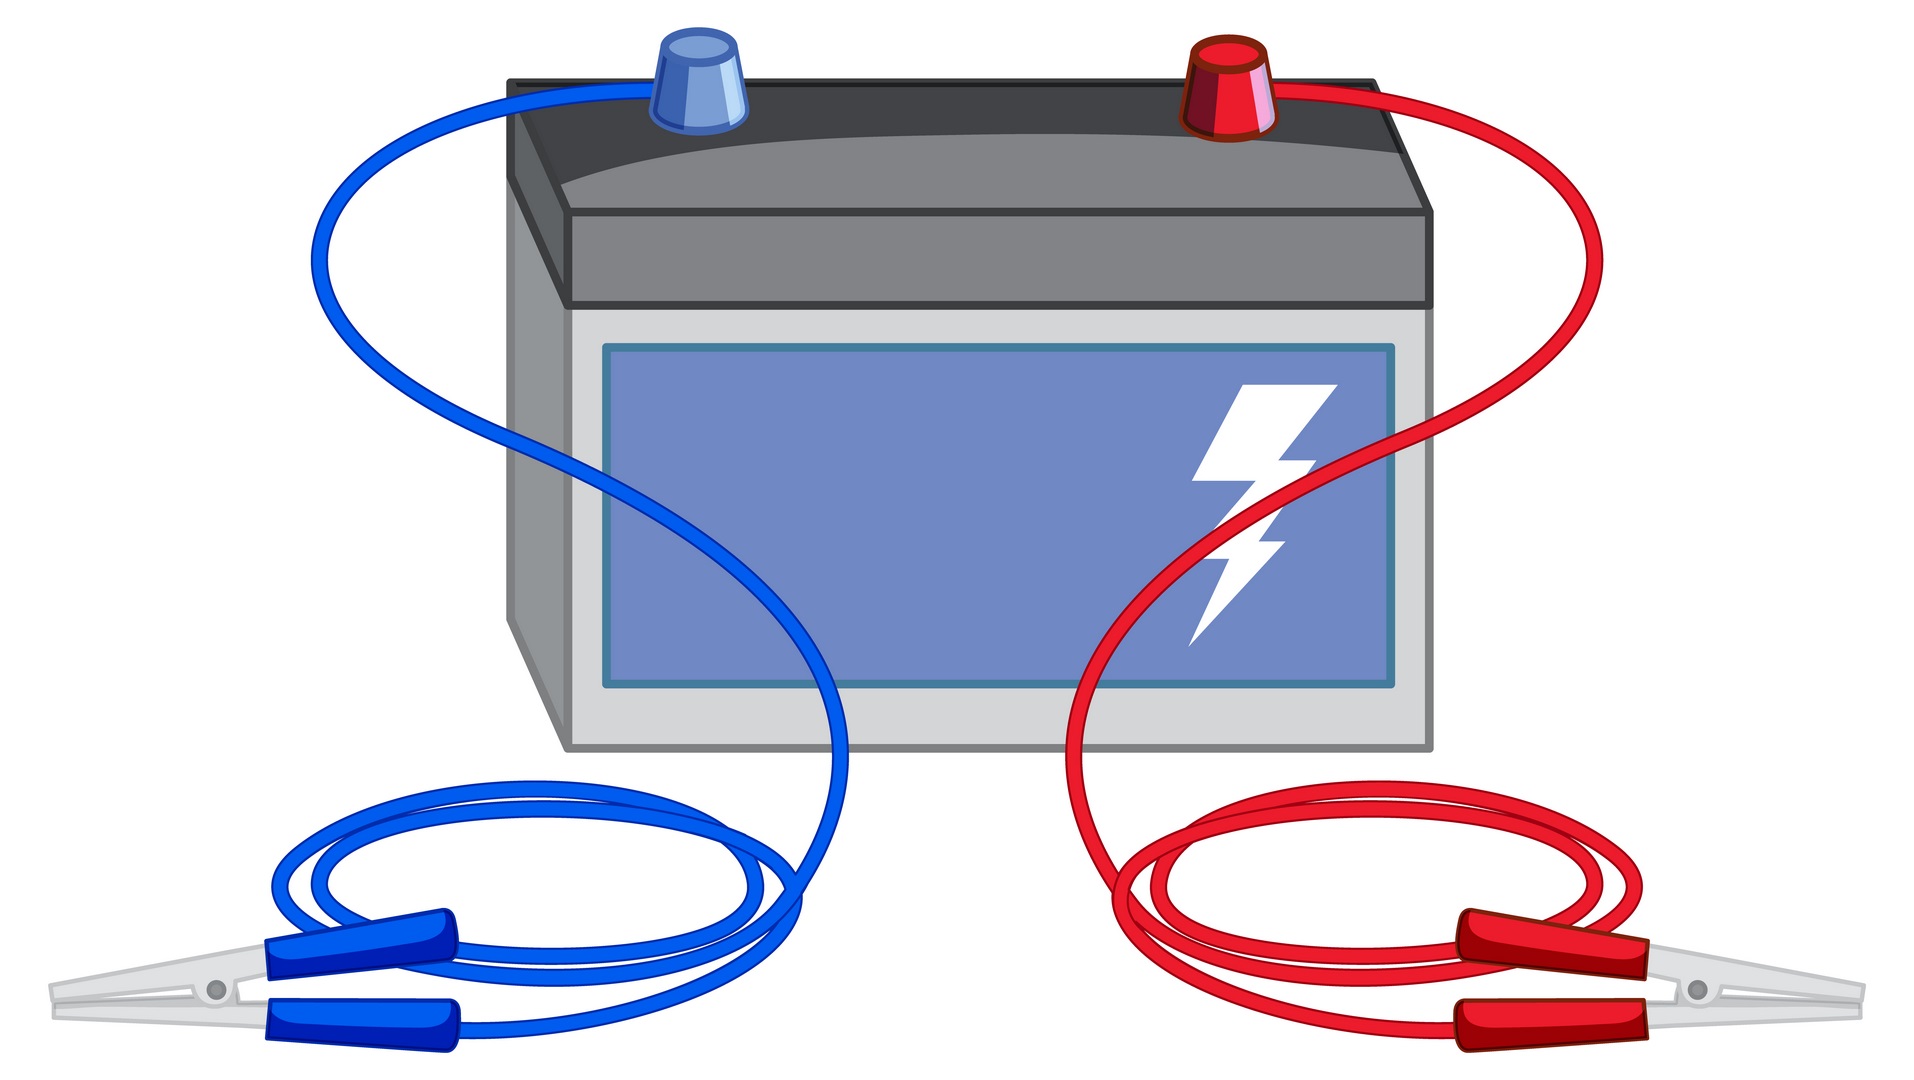
RVやその他のレクリエーション用車両は、基本的な機能に電力を供給するためにバッテリーに依存しています。RVバッテリーは、 ディープサイクル鉛蓄電池 RV の主な電源として機能し、短期間のエネルギー貯蔵を提供し、陸上電源に接続されていない場合や発電機を稼働させていない場合でも車両のシステムを動作させることができます。
RV バッテリーの最も一般的な 2 つのタイプは、定期的なメンテナンスが必要なウェット セル (浸水型) バッテリーと、より高価ですがメンテナンスの必要が少ない AGM (吸収ガラスマット) バッテリーです。どちらのタイプも、硫酸電解液で満たされた複数のセルで構成され、二酸化鉛でできた正極板と純鉛でできた負極板を備えています。
放電すると、これらのプレートは電解液と反応して電流を生成し、RV内の照明や電化製品などのさまざまな機器に電力を供給します。充電中は、 プロセスは逆転し、バッテリー 太陽光パネルや発電機などのエネルギー源から得たエネルギーを、再び使用する必要が生じるまで貯蔵します。
運転中に RV バッテリーを充電するにはどうすればいいですか?
RVバッテリーを充電しながら 運転 は、車両の電源を確保し、目的地に到着するまでの準備を整えるのに最適な方法です。RV のバッテリーを充電する簡単な方法をお探しの場合は、DC-DC 充電器が最適なソリューションです。
RV のオルタネーターに直接接続し、そこから電力を引き出し、運転中に RV のバッテリーを充電します。また、緊急時にはバックアップ電源としても機能し、どこへ旅行してもキャンピングカーの装備が万全であることを保証します。
DC-DC充電器にはさまざまな設定があり、 RVバッテリーの充電速度をカスタマイズする 各旅行中に使用するエネルギーを常に完全に制御できます。
運転中に RV バッテリーが充電されないのはなぜですか?
(ビデオ制作: キャンピングワールド チーム)
(1)エアフィルターの詰まり
エアフィルターが詰まると、RV バッテリーが運転中に充電されなくなることがあります。エアフィルターは、ほこり、花粉、その他の粒子が車のエンジンに入るのを防ぎます。エアフィルターが汚れやゴミで詰まると、空気の流れが制限され、燃焼プロセスの効率が低下します。この効率の低下により、バッテリーを充電するための電力が減り、電圧出力が低下します。
さらに、排気ガスなどの汚染物質が詰まりによりエアフィルターの表面に付着すると、システム内のコンポーネントとの適切な電気接触が妨げられる可能性があります。この電気の流れの中断はパフォーマンスの低下にもつながり、運転中にバッテリーの充電不足につながります。運転中に RV のバッテリーが正しく充電されていないことに気付いた場合は、汚れたエアフィルターや詰まったエアフィルターをできるだけ早く交換することが重要です。
(2)オイルレベルが低い
オイルレベルが低いと、RV バッテリーは運転中に充電されないことがあります。エンジンが正常に機能するには十分なオイルが必要ですが、潤滑が不十分だとオルタネーターが適切に発電できなくなる可能性があります。オルタネーターからのエネルギーに依存しているため、バッテリーが充電されなくなります。さらに、オイルレベルが低いと、エンジンに根本的な問題があることを示している可能性があり、それがバッテリーの再充電を妨げるさらなる問題を引き起こしている可能性があります。
オイルレベルが低いことがわかった場合、RVの所有者はエンジンに損傷やその他の欠陥がないか確認することが重要です。検査中に発見された内容に応じて、フィルターやスパークプラグなどの部品を交換したり、より大規模な修理を行う必要がある場合があります。これらの手順を実行することで、問題が解決され、 バッテリーは再び充電を開始します RVで旅行中に。
(3)充電システムの不具合
車両の充電システムは、オルタネーターやレギュレーターなどのコンポーネントで構成されており、これらが連携して、RV バッテリーを含む車両の電気システムに十分な電力が供給されるようにします。これらのコンポーネントのいずれかが故障すると、エンジンからバッテリーに供給される充電量に影響し、運転中の充電効率に影響する可能性があります。
車両充電システムに障害があるかどうかを診断する方法:
- まず、オルタネーターとバッテリー間のすべてのケーブルと接続に腐食やその他の損傷の兆候がないか確認します。
- すべての配線ハーネスに目に見える摩耗の兆候がないか検査します。
- すべてのヒューズが損傷しておらず、想定された用途に適した定格であることを確認します。
- 最後に、マルチメーターを使用して、回路全体のさまざまなポイントでの電圧出力を測定します。13 ボルトを下回る場合は、充電システムの 1 つ以上のコンポーネントに問題があることを示します。
(4)バッテリー接続部の緩みや腐食
バッテリーの接続が緩んでいたり腐食していたりすると、RV バッテリーが走行中に充電されないことがあります。これは、車両走行時にバッテリーに電力を供給するオルタネーターからの電流が、配線や端子が弱かったり破損していたりしてバッテリーに届かない可能性があるためです。
バッテリー接続を診断するには:
- まずすべての配線をチェックする バッテリーにつながる 端子に腐食の兆候がないか確認します。
- 動作中にコネクタが外れないように、すべてのコネクタがしっかりと接続されていることを確認してください。
- エンジンを再度始動する前に、レンチを使用して緩んだ接続部分を締めてください。
(5)電圧レギュレータの故障
電圧レギュレータは、車両のバッテリーに流れる電流の量を制御する役割を担っています。電圧レギュレータが故障すると、システムに過剰な電力が流入してバッテリーが過充電され、容量が低下して最終的に充電されなくなる可能性があります。電圧レギュレータに問題がある場合は、より広範囲に及ぶ損傷が発生する前に解決できるよう、できるだけ早く特定する必要があります。
電圧レギュレータの故障を判断する方法:
- 目視検査により、溶けた配線や割れた回路基板など、コンポーネントの摩耗の兆候が明らかになる場合があります。
- また、RV を回転させたときにオルタネーター ライトが予期せず点灯したり消灯したりする場合は、電圧レギュレータに問題があることを示している可能性があります。
(6)配線とヒューズの不良
配線やヒューズに問題がある場合、RV バッテリーは運転中に充電されないことがあります。電源コードの接続不良やヒューズの故障または腐食により、RV バッテリーが充電されない場合があります。RV の電気系統は、適切に機能するためにさまざまなコンポーネントを配線する必要があるため複雑です。
不良配線やヒューズのトラブルシューティング方法:
- すべてのワイヤーはしっかりと接触し、ネジ、ボルト、クリップなどの留め具でしっかりと固定されている必要があります。
- ヒューズボックスに腐食や水の浸入による損傷がないか確認してください。
これらの条件のいずれかが存在する場合、回路は正常に動作せず、 バッテリーの電力がなくなる 移動中は、メンテナンス作業中の安全性と精度を確保するために、修理または交換を行う前に各コンポーネントを徹底的に検査することが重要です。
(7)バッテリー端子の汚れ
地面に落ちたキラキラ光る金属の削りくずの匂いと、かすかな酸性の煙が空気中に漂っている場合、RV バッテリーに何か問題があることは明らかです。汚れた端子は、運転中に RV バッテリーが充電されない原因の 1 つであることがよくあります。バッテリーの端子は、雨、土、ゴミなどの環境にさらされると汚れ、その周囲で酸化や錆が発生します。端子に蓄積すると、電子が通過しにくくなり、バッテリーに流れる電流が減少し、バッテリーが適切に充電されなくなります。
これらの端子を定期的に清掃すると、オルタネーターからバッテリーへの電力の流れがスムーズになり、腐食や汚れの蓄積を防ぐことができます。
バッテリー端子の清掃方法:
- まず、ワイヤーブラシ、重曹ペースト(硬い場合)、ぼろ布/ペーパータオル、水を用意します。
- RV のマイナス端子を外し、ワイヤー ブラシを使用して、プラス端子とマイナス端子の内部またはその近くにある粒子を、再び光るまで取り除きます。
- 次に、重曹ペーストを水と混ぜて各柱に直接塗布します。これにより、錆や乾燥した酸などのより頑固な堆積物(存在する場合)を除去するのに役立ちます。
- 完了したら、すべてを元通りに取り付ける前に、布またはペーパータオルを使用して残留物を取り除きます。クランプをしっかりと締めた後、しっかりと接続していることを確認し、エンジンを始動してテストします。
(8)過放電したバッテリー
過放電したバッテリーは、RVバッテリーが運転中に充電されない原因となる可能性があります。過放電したバッテリーは、 バッテリーの電力が減りすぎている、電圧が 10 ボルト以下に低下する原因となり、過度の放電や、車両を充電器に接続せずに長時間放置した場合に発生することがあります。
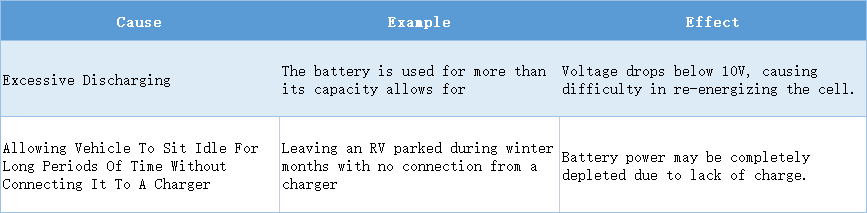
過放電したバッテリーの影響は有害です。電圧が8ボルトを下回ると、セルが損傷し、充電ができなくなります。さらに、長期間放置すると、各セル内のプレート内部で硫酸化が始まり、永久的な損傷を引き起こし、システム全体の交換が必要になる可能性があります。そのため、すべてのバッテリーを定期的にメンテナンスチェックすることが重要です。 車両やRVに接続されたバッテリー 該当する場合は他のデバイスも、最高のパフォーマンス レベルで動作し続けることを保証します。
過放電を防ぐための定期的なメンテナンス:
- 開放電圧(OCV)を測定する
- 電解質レベルを確認する
- 可能な場合は負荷テストを行う
- 必要に応じて充電を均等化するテストや、適切な保管プロトコルなどのテストを実行します。
これらの手順を実行すると、バッテリーが適切に充電され、過放電が防止され、高額な修理や交換が必要になる可能性が回避されます。
(9)オルタネーターのダイオードの故障
オルタネーターのダイオードが故障すると、RVのバッテリーが走行中に充電されなくなることがあります。ダイオードが故障すると、オルタネーターからのAC(交流)をDC(直流)に変換できなくなります。この変換がなければ、オルタネーターによって生成された電力はバッテリーに追加の充電を提供できません。そのため、エンジンが作動して電気エネルギーを供給している限り、 バッテリーが完全に放電されたままになっている可能性があります または少なくとも、その必要を満たすのに十分な充電を受けられない。
故障したダイオードを診断する方法:
- ダイオードの抵抗を測定できるマルチメータでテストします。
- メカニックによっては、導通を確認するために抵抗計を使用することを好みます。
どちらの場合でも、1 つのダイオードに関連付けられた 2 つのリード線間のオープン回路の読み取り値は、おそらくダイオードが不良であることを意味し、すぐに交換する必要があります。
(10)スタート/ストップ機能の故障
このシステムは、RV の速度を監視し、運転中か駐車中かに応じてスターター モーターを自動的にオンまたはオフにすることで機能します。これにより、どちらの場合もエネルギーを節約できます。つまり、停止中にエンジンをアイドリング状態にすることができ、移動中に RV の電気リソースを浪費することはありません。
問題は、どちらかのコンポーネントが故障したときに発生します。センサーが動きを検出できない場合、たとえ高速走行していてもスターターはオフにならず、代わりに電流が流れているため充電が行われません。これは最終的に重大な損傷を引き起こし、高額な修理が必要になる可能性があるため、ここでは予防が最終的に重要です。
すべての部品が正しく機能していることを確認するために定期的なメンテナンス チェックを実施し、重大な障害になる前に潜在的な問題を特定するために定期的な検査を実施する必要があります。
(11)バッテリーケーブルが長すぎるか細すぎる
バッテリー ケーブルが長すぎたり細すぎたり、接続が不良だったり、腐食していたり、サイズが間違っていたりすると、RV バッテリーが走行中に充電されなくなる可能性があります。
ケーブルの問題を診断する方法:
- プラスケーブルとマイナスケーブルに腐食や損傷の兆候がないか確認してください。
- 各ケーブルがバッテリー端子の対応する端子に正しく接続されていることを確認します。
- 各ケーブルの長さと幅を測定します。どちらかの測定値が間違っていると、十分な バッテリーの劣化を防ぐために電力が流れないようにする システムの充電を停止します。
ケーブルの修理/交換方法:
- 目に見える腐食の兆候がある場合は、ケーブルを取り外したり交換したりする前に、目の細かいスチールウールで腐食を取り除いてください。
- 既存のキットを新しいキットに交換する場合は、充電用の電流不足により道路走行中に問題が発生しないように、キットのサイズ (幅) と長さが十分であることを確認してください。
- 適切なツール (ワイヤー プライヤー、圧着コネクタなど) を使用して端子間の接続が適切であることを確認し、両端の接点の導電性を損なうことなく安全な接続を確保します。
これらの手順はすべて、この特定の原因を診断して修正するのに役立ちます。 RVバッテリー ケーブルが長すぎたり細すぎたりして接続不良を起こし、運転中に充電できないことがあります。 リチウム電池メーカー 仕様が改良されれば、電気エネルギーの転送効率が向上し、移動中でも充電が成功することが期待できます。
(12)オルタネーターの出力不足
運転中に RV バッテリーが充電されない最も一般的な原因の 1 つは、オルタネーターからの出力が不十分なことです。これは、接続不良やベアリングの摩耗によって発生する可能性があります。
オルタネーターは、運転中に RV の電気システムに電力を供給し、バッテリーを充電したり、ライトやエアコンなどの他のシステムを稼働させたりするための電気を供給します。エネルギーは、エンジンに接続されたベルトを駆動するプーリーの回転から得られます。エンジンが回転すると、このプーリーも回転し、電気が生成され、配線を通じて RV に送られます。このプーリーに関連する接続またはベアリングに問題があると、オルタネーターが故障してパフォーマンスが低下したり、配線を通じて電力がまったく送られなくなったりして、最終的には運転中にバッテリーが充電されなくなる可能性があります。
自動車用マルチメーターでユニットをテストし、出力電圧を確認します。読み取り値が 13 ボルト未満の場合は、交換する必要があります。
故障したオルタネーターの交換方法:
- まず、車両のバッテリーからマイナスケーブルを外し、次に古いユニットを固定している取り付けボルトを取り外します。
- 車両から取り外す前に、配線ハーネスから外してください。
- 取り外したら、新しいオルタネーターを以下の手順に従って取り付ける必要があります。 メーカーの指示に従い、バッテリーにしっかりと接続してください 適切なコネクタを使用してケーブルやその他のワイヤを接続します。
- すべての接続を完了して締め付けた後、イグニッション キーをオンにする前に正しく接続されていることを再確認し、再度車両の試運転を行って、エンジンと充電システムの正常な動作を確認します。
運転中に RV バッテリーを適切に充電するにはどうすればいいですか?

1. まず、RV の充電システムが正常に機能していること、オルタネーターからバッテリー端子への接続、電気システム コンポーネントを接続するその他のケーブルやワイヤなど、すべての接続が安全であることを確認することが重要です。
2. また、すべてのヒューズと回路ブレーカーが正常に動作していることを確認することも重要です。損傷または摩耗していると思われる場合は、すぐに交換してください。
3. 車両の電圧レギュレータ設定をチェックして、運転中にバッテリーにどれだけの電荷が送り返されているかを確認する必要があります。電荷が少なすぎると、バッテリーが完全に充電されません。必要に応じてこの設定を調整すると、充電機能が向上します。
3. 長距離を一定速度で走行する場合、運転者はエンジン速度を調整して、オルタネーターを通じてバッテリーにより多くのエネルギーを戻す必要がある場合があります。
4. 最後に、移動中にライトやファンなどの電気製品を稼働させることで、バッテリーに追加の電力入力を供給することもできます。
これらの手順を注意深く実行し、旅行中はシステムのパフォーマンスと設定の両方を定期的に監視することで、RV 所有者は、旅行先がどこであっても、バッテリーの健全性を維持し、車両の電気システムを稼働させ続けることができます。
RVバッテリーを充電する他の方法
RV バッテリーはさまざまな方法で充電できます。
- 走行中に電気を生成してバッテリーを充電する車載発電機を使用します。
- キャンプ場または RV パークの陸上電源コードを RV に直接差し込み、AC 電源を使用してバッテリーを充電します。
- ソーラーパネルは、RV バッテリーを充電するための直流 (DC) エネルギーを供給するためにも使用できます。このタイプのシステムは、RV のバッテリー パックに直接接続するポータブル フレームに取り付けられた光電池で構成されています。
- 風力タービンや水力発電機などの小型システムを使用して、RV バッテリーを充電するための DC 出力を生成することもできます。
選択した充電システムのタイプに関係なく、充電中に損傷が発生しないように、すべてのケーブルと接続がそれぞれのコンポーネントに適切に適合していることを確認することが重要です。さらに、これらのシステムは、誤配線やその他の機械的な問題による予期しない問題を防ぐために、常に定期的にチェックしてメンテナンスする必要があります。結局のところ、さまざまなオプションを用意しておくことで、RV のバッテリーを常に完全に充電して必要なときにすぐに使用できるようにすることができます。
RV のバッテリーが切れたかどうかはどうやって分かりますか?
バッテリーをチェックする最初の方法は電圧計を使うことです。電圧の測定値が12ボルト以下であれば、 バッテリーが切れたので交換が必要ですさらに、端子の周りの腐食に注意してください。これは、 バッテリーの充電容量さらに、使用中に電力出力を低下させる可能性のあるほつれやひび割れなどの損傷がケーブルにないか点検してください。
他に実行できるテストは、比重計を使用して各セルを個別にテストすることです。セルが適切に機能するには、すべてのセル内の電解質濃度が同程度である必要があります。濃度に差があると不均衡が生じ、効率的な充電が行われなくなります。
最後に、車両のメインオルタネーターと補助充電器の両方が正しく機能していることを確認してください。どちらかが故障すると、運転中にバッテリーに十分な充電が行われなくなる可能性があります。
これらの手順を考慮すると、RVバッテリーがなぜ機能しないのかがわかるはずです。 運転中の充電 - 今後どのような修理が必要か、十分な情報を得た上で決定を下すことができます。
RV のバッテリーを常に差し込んだままにしておくのは悪いことでしょうか?
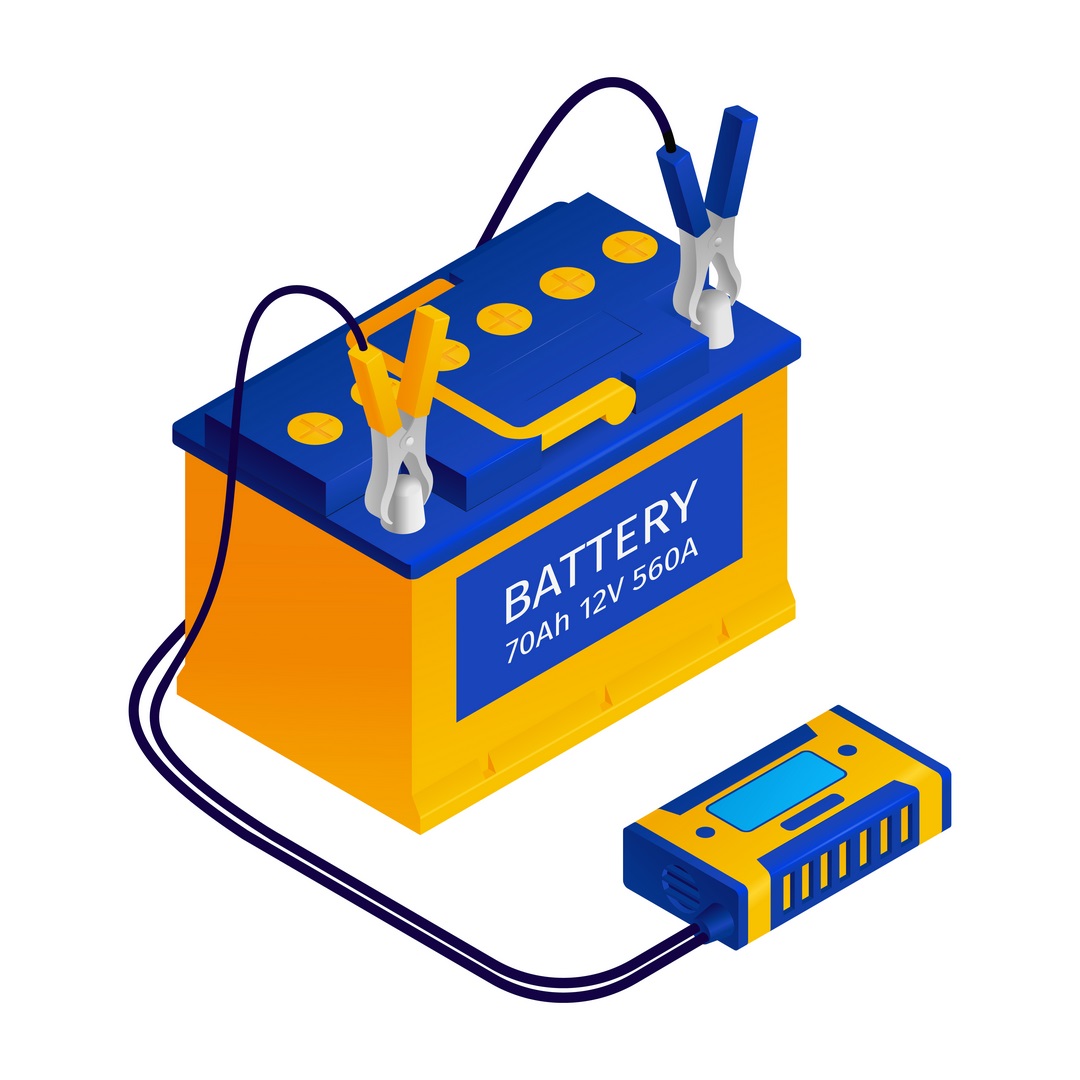
RVのバッテリーは通常、車両が停止して走行しているときにコンバーター/充電器システムで充電されます。ただし、この充電方法は、オルタネーターがバッテリーを充電するのに十分な電力を供給できないため、走行中は機能しません。そのため、RVを バッテリーは常に接続されています 旅行の合間に長時間の充電やチャージが可能であれば、有益です。
一方、RV バッテリーを常に接続したままにしておくと、潜在的な欠点が生じる可能性があります。 バッテリーの過充電 急速な劣化につながり、容量の低下や寿命の短縮につながる可能性があります。また、過充電はガス発生の原因にもなり、セル内部の水分損失や端子や接続部の腐食の増加につながります。このような損傷を防ぐために、所有者は充電器の設定がメーカーのガイドラインに準拠していることを確認し、可能であれば長時間の接続を避ける必要があります。
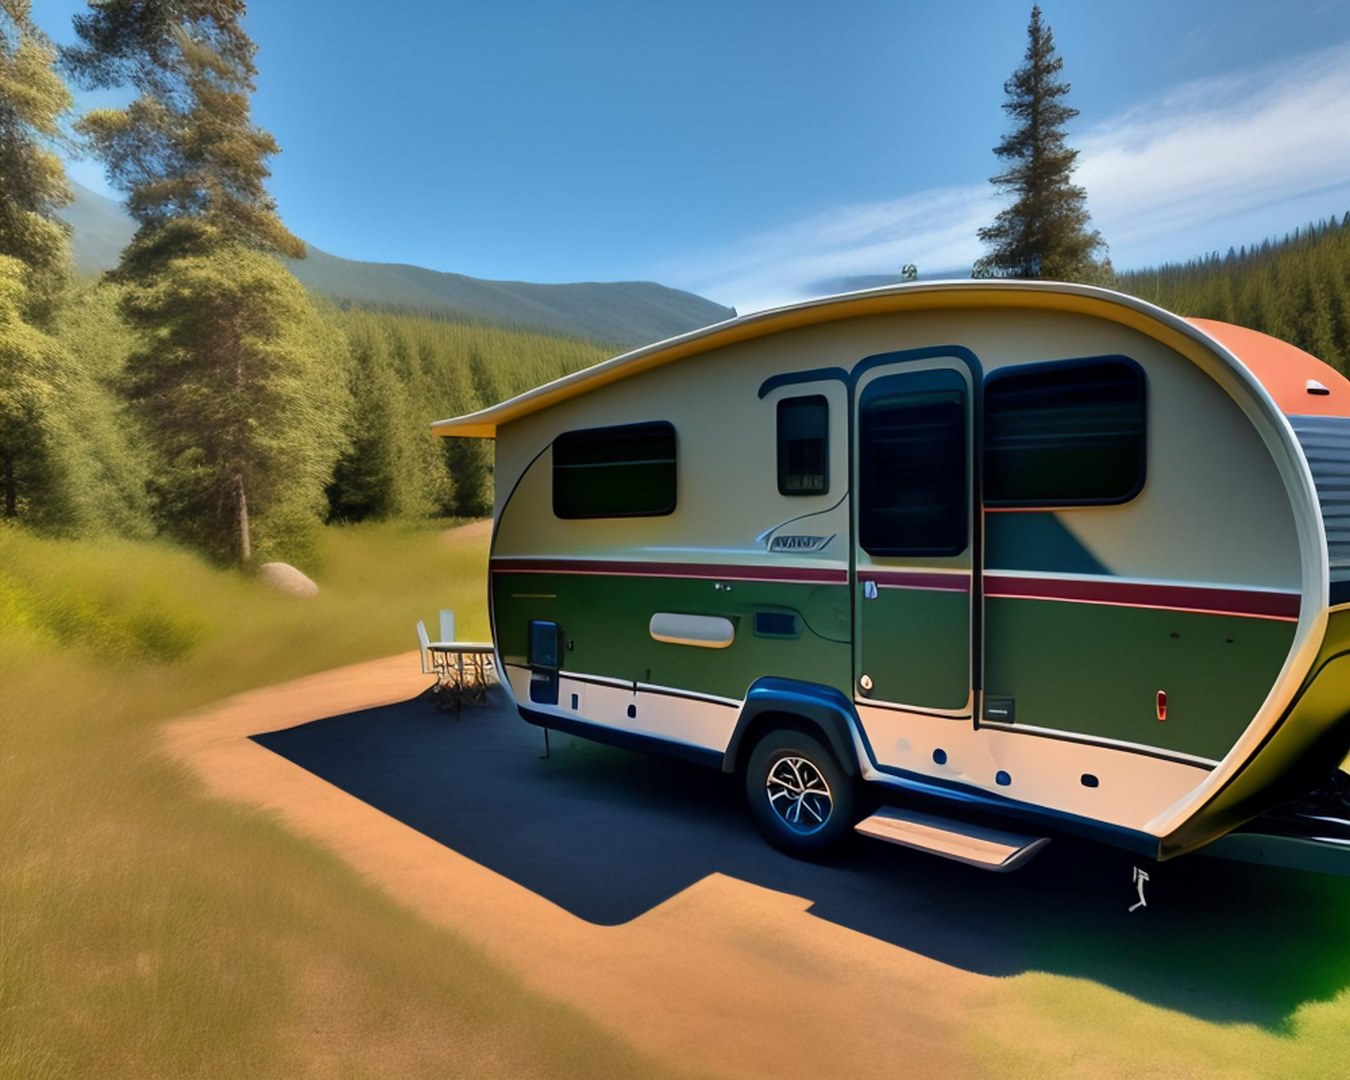
冬にRVバッテリーを取り外す必要がありますか?
一般的に、冬の間は RV バッテリーを取り外すことをお勧めします。これは、極寒にさらされると効率が低下し、充電能力が低下する可能性があるためです。さらに、保管中にバッテリーを車内に残しておくと、内部の電解液が硫酸化したり凍結したりする可能性があります。これが発生すると、充電を保持できなくなり、使用できなくなります。
寒さによるダメージからバッテリーをさらに保護するには、暖房のないガレージや地下室などの涼しい場所に保管する必要があります。屋外にバッテリーを保管する場合は、直射日光や雪や雨などの風から遠ざけるようにしてください。ガソリンや灯油などの可燃性物質から遠ざけることも重要です。火花や炎にさらされると火災の危険があります。また、冬季中は定期的にバッテリーの状態を確認し、必要に応じて蒸留水で電解液レベルを補充してください。
RV バッテリーの寿命をより良く維持するにはどうすればよいでしょうか?
広大な地平線に沈む夕日を眺めながら、RVで過ごす夜ほど穏やかなものはありません。しかし、バッテリーが正常に機能せず、運転中に充電できない場合は、非常にイライラします。幸いなことに、バッテリーの寿命を延ばすために実行できる手順がいくつかあります。 RVバッテリーのライフサイクル より長い期間充電された状態を保つようにしてください。
高品質のバッテリーに投資しましょう: 高品質のバッテリーに投資すると、RV の電気システムの長期的なパフォーマンスを維持する上で大きな利益が得られます。
充電レベルを定期的に監視します。 バッテリーの充電レベルを定期的に監視すると、問題が深刻化する前に早期に特定することができます。
照明やその他の電化製品を不必要につけっぱなしにしないでください。 ライトやその他の電化製品を不必要に使用すると、エンジンやブレーキなどの重要なシステムから電力が奪われ、時間が経つにつれてバッテリーが損傷する可能性があります。
これらのヒントに留意すると、バッテリーの最適なパフォーマンスを維持できるだけでなく、車両全体のコンポーネントの磨耗が軽減され、オーナーは自分の車両がきちんと手入れされていることがわかり、安心して RV を楽しむことができます。
要約する
結論として、走行中に RV バッテリーが充電されない場合は、いくつかの原因が考えられます。
何よりもまず、オルタネーターと RV バッテリー間の配線と RV バッテリー自体の状態を確認してください。接続が緩んでいないことを確認してください。マルチメーターで掃除すると腐食を最小限に抑えることができます。
次に、ヒューズ、回路ブレーカー、リレーなど、故障している可能性のある他のコンポーネントを確認する前に、オルタネーターに損傷がないか確認してください。これらのコンポーネントを順序どおりに 1 つずつテストすると、必要に応じてどの部品を交換する必要があるかを判断するのに役立ちます。
結局のところ、RVを適切にメンテナンスすることは バッテリーは、バッテリーの故障を心配することなく、道路上で確実に動作することを保証します。 古い部品が故障したため。
そして 通常のメンテナンス RV のバッテリーと機器を点検することで事故を防ぐことができます。時間をかけてこれらの手順をすべて徹底的に実行し、すべてを最高の状態に保つようにしてください。
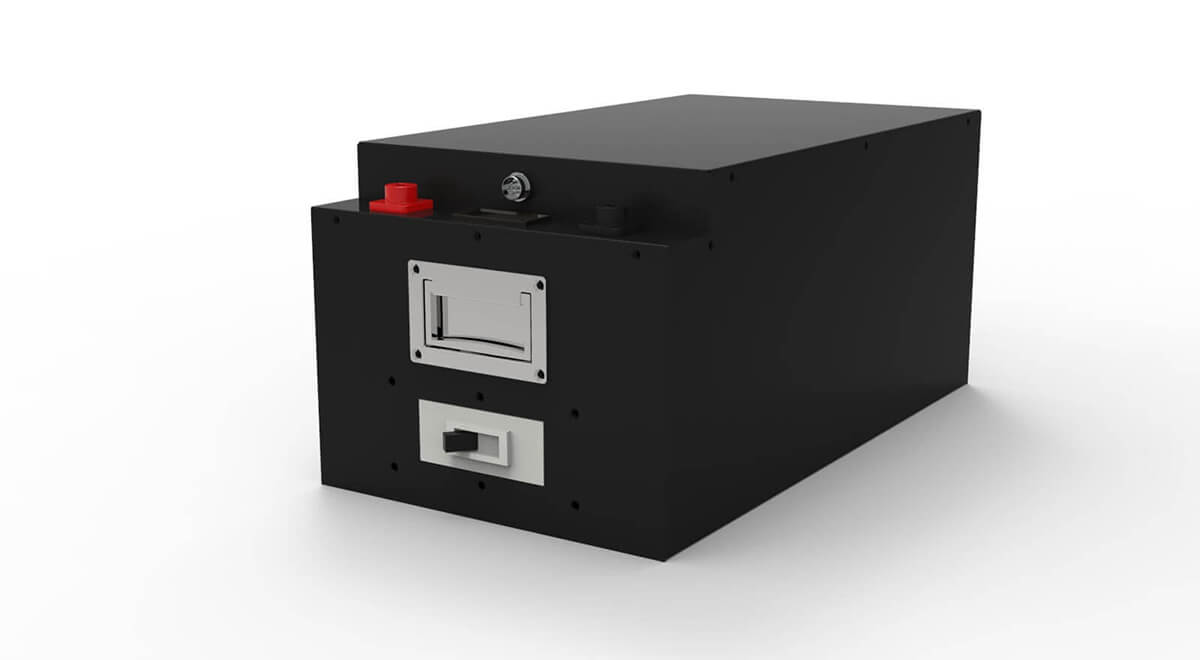
あなたの選択に最適なLifepo4 RVバッテリー - HARVEYPOW
ハーベイパウ RV バッテリーは、高度なリン酸鉄リチウム バッテリー技術と信頼性の高い構造を組み合わせているため、レクリエーション用車両に最適です。
最高レベルの安全機能と堅牢な構造により、その性能を自信を持って信頼でき、8000サイクルを超える長寿命により、交換する必要がありません。 RVバッテリー 近いうちに。
さらに、HARVEYPOW には 12 年間の保証が付いているため、RV バッテリーがどんな困難にも耐えられることを確信して、安心して旅行することができます。
ハーヴェイポウ lifepo4 バッテリーメーカー 効率的で長持ちするバッテリーを求める RV 所有者にとって貴重なソリューションを生み出しました。
その他のよくある質問
(1) RV コンバーターがバッテリーを充電しているかどうかを確認するにはどうすればよいですか?
電圧調整器、メインブレーカー、端子に摩耗や損傷の兆候がないか確認してください。
調光スイッチやサーキットブレーカーにも注意を払うことが賢明です。コンバータの接続に問題がある可能性があるため、オフの位置にあることを確認してください。
最後に、デジタル マルチメーターを使用して、陸上電源に接続されているときに AC 電圧と DC 電流を測定し、RV バッテリーが正確かつ効率的に充電されていることを確認します。
(2) トラブルシューティングのために RV コンバータをテストするにはどうすればよいですか?
まず、RV 内で動作しているすべてのアプライアンス、照明、およびファンをオフにして、RV システムのすべての負荷を解除します。
次に、マルチメータを DC V 範囲に設定し、充電中に RV バッテリにプローブを置きます。
動作していないときに測定値が 13.6 ~ 13.8 ボルトの間に戻った場合、RV コンバータは正常に動作しています。測定値が予想より大幅に低い場合は、RV コンバーターに問題があることを示している可能性があるため、経験豊富な専門家によるさらなるチェックが必要です。
(3) 12v RV バッテリーはどのくらい持続しますか?
一般的に言えば、 12V RV バッテリー 通常の使用では、再充電が必要になるまで 2 ~ 3 日間持続するため、オフグリッドキャンプ中にライトやその他の電化製品を稼働し続けることができます。
しかし、天候、電力使用量、車の充電頻度などの要因によって、 RVバッテリー 続くでしょう。
(4) RV インバーターはバッテリーを充電しますか?
はい、RV インバーターはさまざまな方法で RV バッテリーを充電できます。最も一般的なのは、ソーラー パネルや屋外発電機、キャンプ場の電気などの AC 電源に接続するか、車両を壁のコンセントに接続することです。
RV インバータは、電源に接続すると交流 (AC) を直流 (DC) に変換し、RV バッテリの充電に使用できます。
さらに、車用 RV インバータを使用すると、AC 電源と DC 電源の両方を使用できるため、電源を切らさないようにしながら、RV からより複雑なアイテムや家電製品を実行できます。
(5) トラックで RV バッテリーを充電するにはどのくらい時間がかかりますか?
トラックで RV バッテリーを完全に充電するには、平均して約 4 ~ 6 時間かかります。ただし、RV のバッテリーのサイズ、トラックのオルタネーターの種類と状態、バッテリーの消耗度はすべて充電時間に影響します。